I can't tell you how many times a photo I took was nearly flawless and ruined by an out of place feature, like a random person or wires. When I initially began editing, I frequently accepted these mistakes as is because I didn't know which Photoshop tool to trust. But after learning photography properly, I realized that those things ruin the image, and today I'll show you 4 tools to help you learn how to remove objects in photoshop.
Using the Content-Aware Fill Tool
When I first learnt how to remove objects in Photoshop, I preferred the Content-Aware Fill tool, because It's very fast, particularly when you're working with backgrounds that don't change much, like grass, plain walls, or skies. The way Photoshop cleverly fills in the blank space by examining the surrounding pixels impressed me a lot. You don't have to spend time painting over the area by hand or worry about how to remove an object in Photoshop. I've saved countless hours using this tool for product photography and outdoor scenes where a clean background is crucial. It has grown to be one of the most used features in my editingprocess.

It can get a bit confusing, so let's go over how exactly to use it step by step.
Step 1: Open your image and select the object using the “Lasso Tool”. You may find in the tool box area at the top left of your screen

Alt Text: Lasso Tool
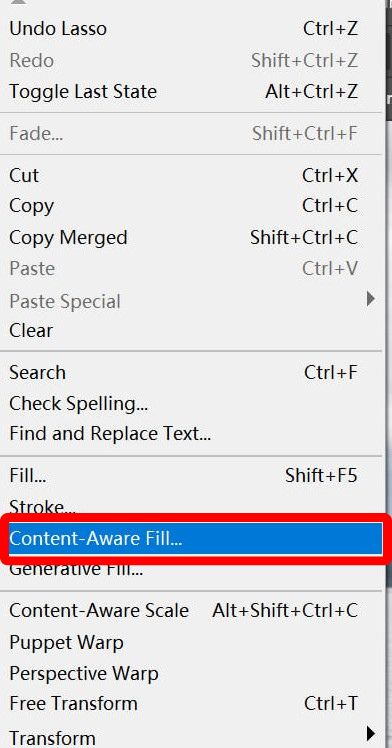
Step 2: Go to “Edit” then select“Content-Aware Fill”.
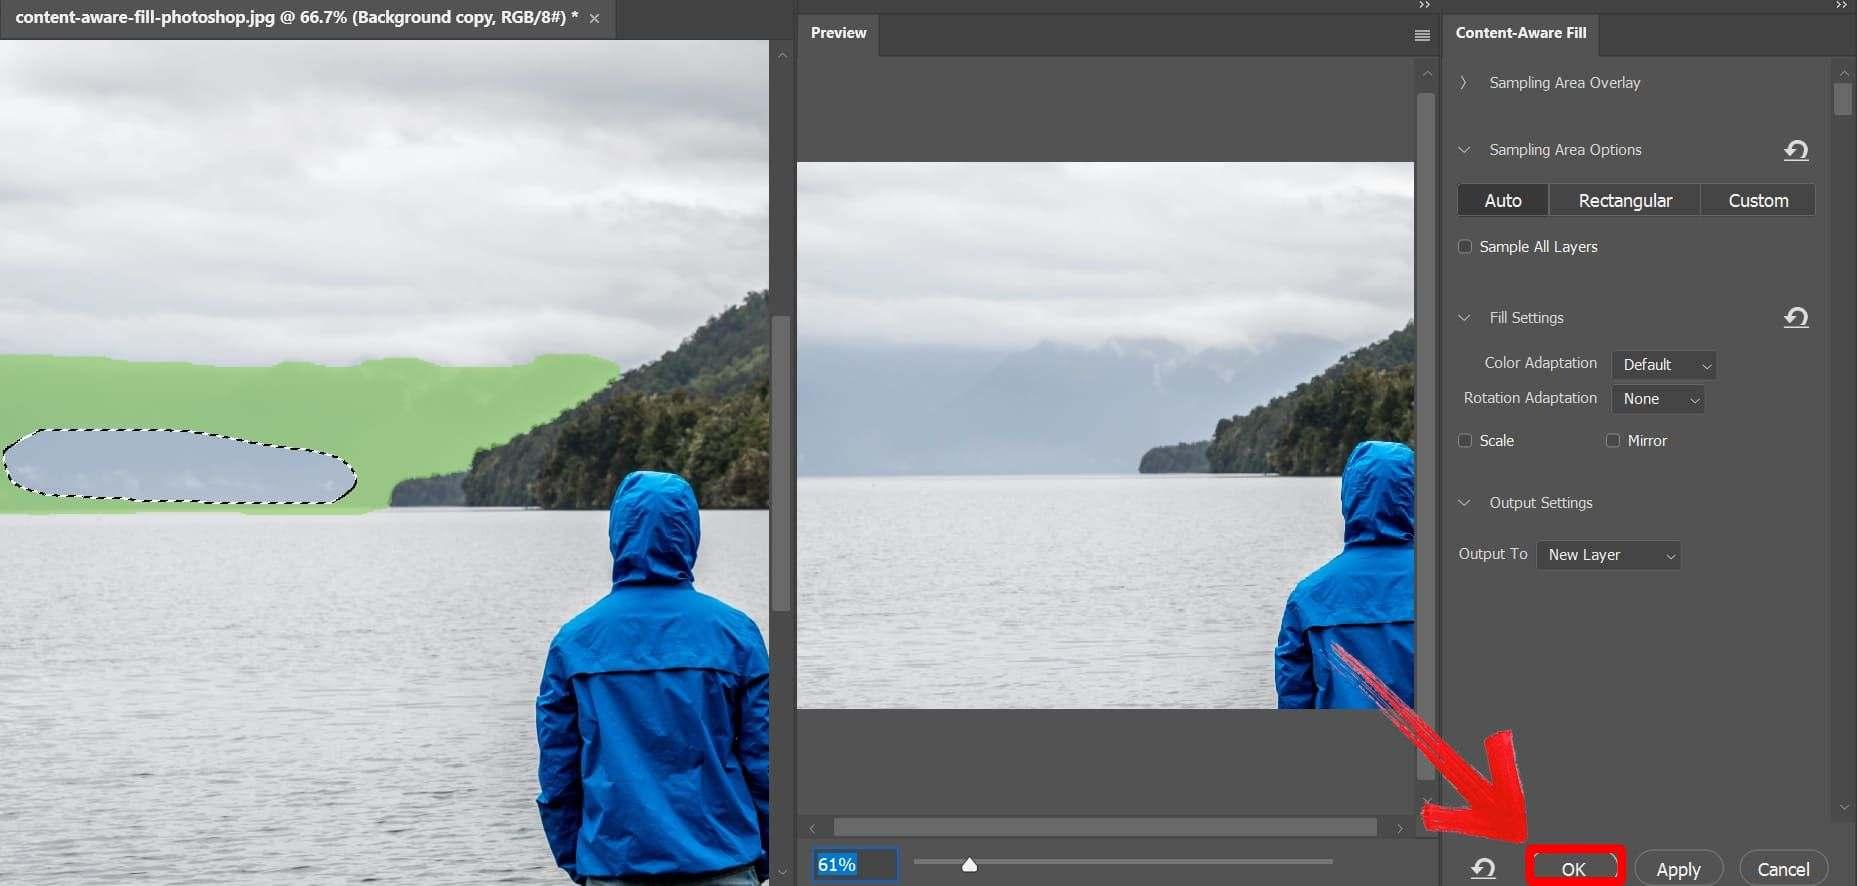
Step 3: In the preview window, Photoshop will show how it will fill the area. Adjust the sampling area if needed then click“OK” to apply the fill.
Pros:
Fastest method for clean backgrounds
Photoshop auto-detects the best fill
Easy for beginners
Cons:
Struggles with complex textures or edges
May need touch-up afterward
I’ve found this tool especially helpful for product shots or headshots with solid-color backdrops. It also works amazingly for outdoor pictures when there’s unwanted things in the background. A perfect tool for removing things in my opinion, without worrying about how to erase things in Photoshop.
Using the Clone Stamp Tool
I started using the Clone Stamp Tool for more detailed or challenging edits once I felt more at ease with Photoshop. By enabling you to paint over the object with pixels from another area of the image, the clone stamp tool gives you the ability to manipulate it manually. When working with textured areas like fabric, brick walls, or patterned surfaces, it's extremely helpful. Matching tones and directions initially required some practice, but the accuracy it provides made the effort worthwhile. I now use it whenever I want complete control over the replacement area's appearance.
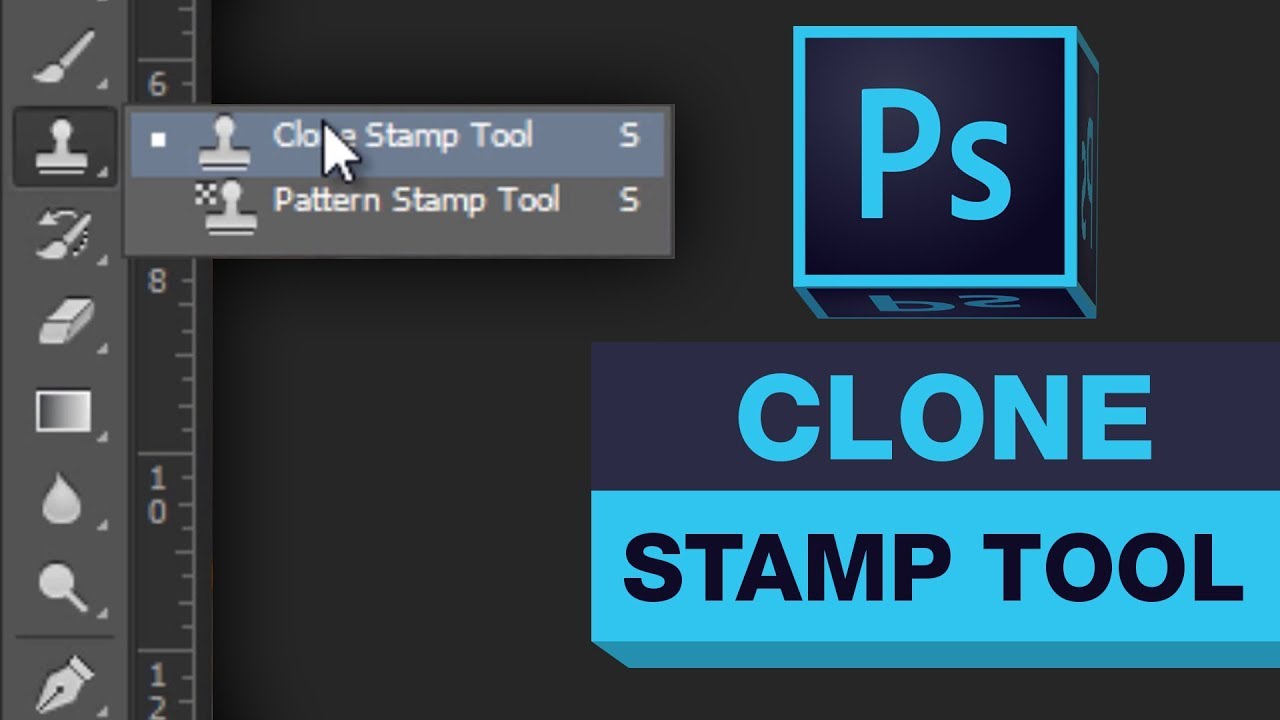
It’s really difficult to understand when you’re just starting out, so let’s quickly go over exactly how to use it, step-by-step.
Step 1: Select the “Clone Stamp Tool”.

Step 2: Hold Alt and click the area you want to sample. Release Alt and carefully paint over the object.

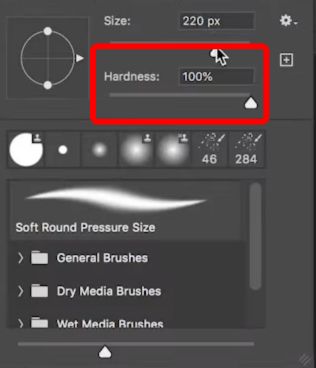
Step 3: Use soft brushes and lower hardness near edges for smoother blending.
Cons:
Can look artificial if not blended properly
When I need precise editing, like removing a logo from clothing or clearing lines off a building, the Clone Stamp Tool becomes extremely useful. It is a little bit time consuming, but that is okay because the quality of the work it delivers is outstanding.
Using the Healing Brush Tool
Sometimes I just wanted a quicker fix, especially for minor problems that didn't require extensive editing, like dust spots, light scratches, or skin blemishes. I began using the Healing Brush Tool at that point. Photoshop does the blending for you, all you have to do is paint over the imperfection and sample a clean area. The fact that the colour and texture blend together so that the finished product seems natural is what I like best about it. For quick, delicate cleanups during portrait or product editing, it has become one of my favourite tools, being perfect for small, simple fixes like dust, skin blemishes, or spots.
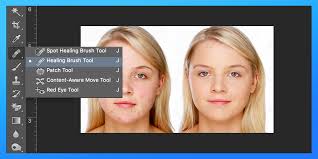
Let’s look at how you can use the Healing Brush Tool to remove object in photoshop:
Step 1: Select the “Healing Brush”tool from the toolbar.
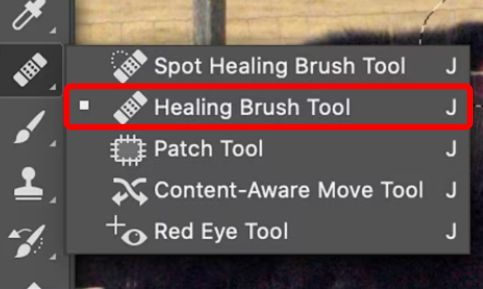
Step 2: Hold Alt and click to sample a clean area and paint over the object or blemish gently.

Step 3: Release the brush to let Photoshop blend the tones.
Pros:
Fast and beginner-friendly
Automatically blends tone and color
Ideal for portraits
Cons:
Not suitable for large or complex objects
Can produce blurry results if overused
For minor touch-ups, this tool performs extremely well. Whenever there is dust or spots visible on someone’s face, especially in headshots, this tool really helps out in smoothing the areas and giving the person a more natural smooth look.
Using the Patch Tool
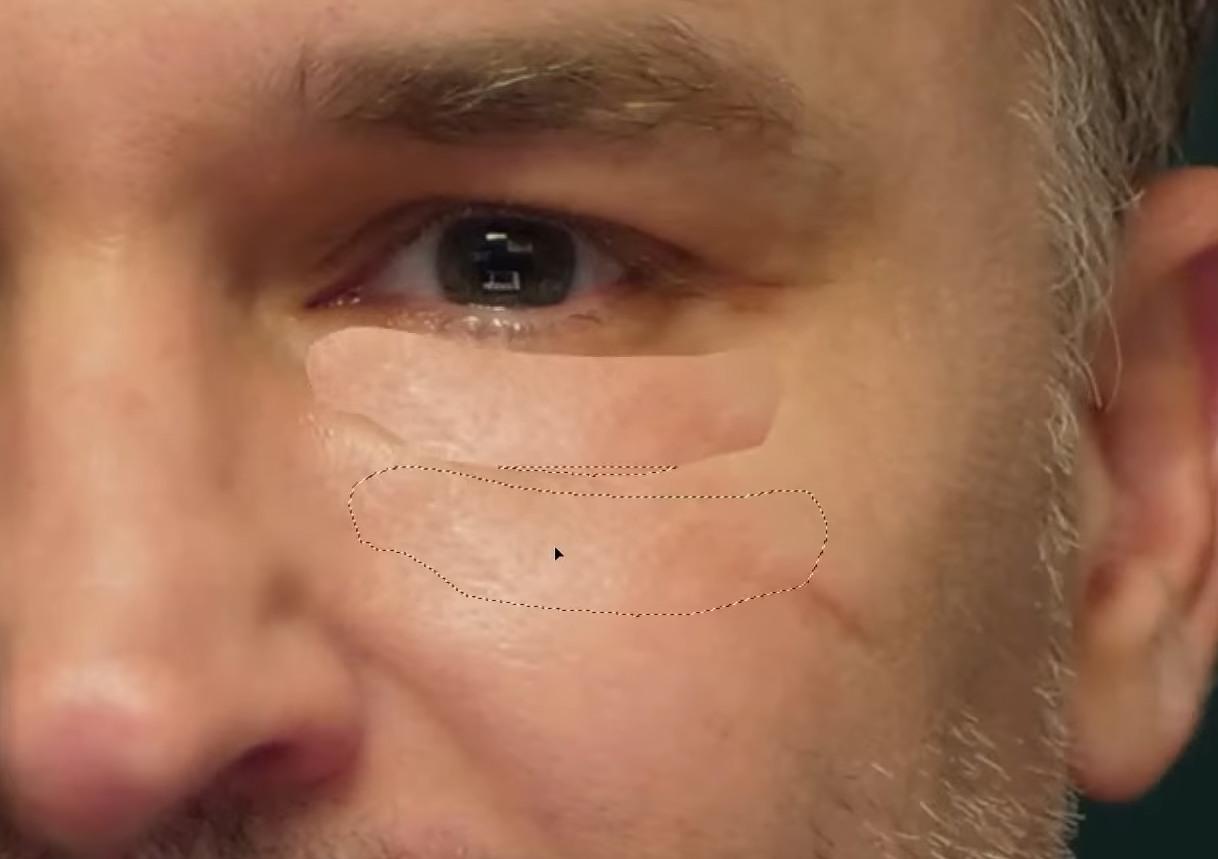
I eventually had to deal with more complicated objects, such as eliminating distractions in busy settings or people from crowded backgrounds, and to deal with that, I started using the Patch Tool more often. By drawing around the undesirable object, you can then drag that selection to a clearerarea of the picture, where Photoshop will replace and blend the area. When the surrounding textures are varied but still contain usable sections to draw from, this tool performs exceptionally well. In situations where other tools are insufficient for larger or irregular shapes, it has proven to be incredibly effective. I frequently use it for event and landscape photos that require a more sophisticated edit.
Here are some steps to use the Patch Tool:
Step 1: Select the “Patch Tool”from the toolbar.
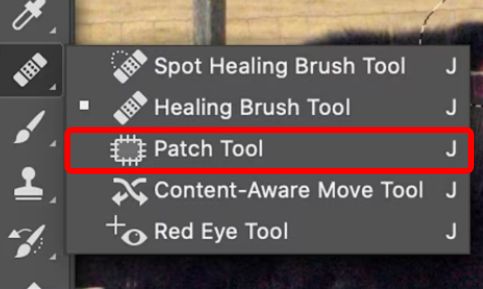
Step 2: Draw around the object you want to remove and drag the selected area to a clean background portion.
Pros:
Effective for large or complex objects
Good balance of control and automation
Flexible and intuitive
Cons:
Requires a good matching area
May need fine-tuning afterward
This tool helped me remove people from beaches and even furniture from room shots. You just need to make sure that you use it carefully and select the areas with the right textures, and this tool will always deliver, exceeding expectations.
Instantly Remove Backgrounds with Toolsmart’s Background Remover
Toolsmart Background Remover is an amazing tool that I use whenever I don't have time to open Photoshop and edit the pictures myself. I've frequently used it for short-term tasks like social media banners, product mockups, and profile pictures. The tool uses AI to identify and remove the background, and for an AI, it performs extremely well. It gives you the picture as a clear PNGfile that is in really good quality.
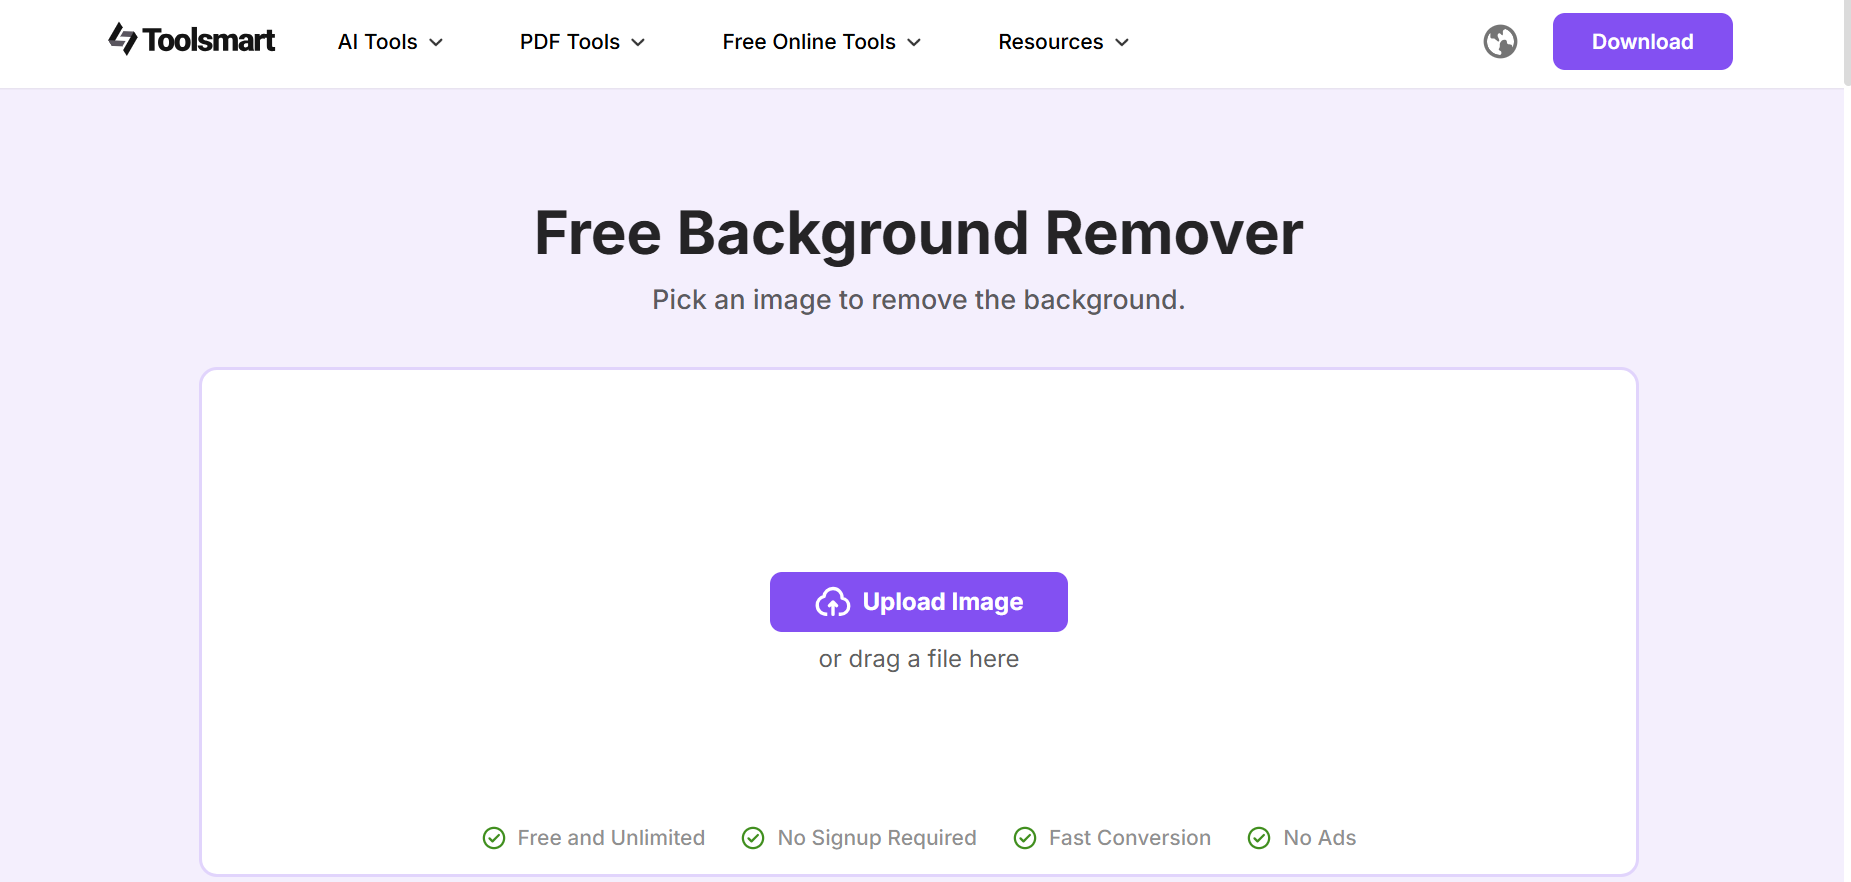
It’s very easy and simple to use, but let’s just go over how to use it.
Step 1: Head over to Toolsmart’s Background Remover. You’ll see a big upload button right on the homepage.

Step 2: Click the button and choose your image.
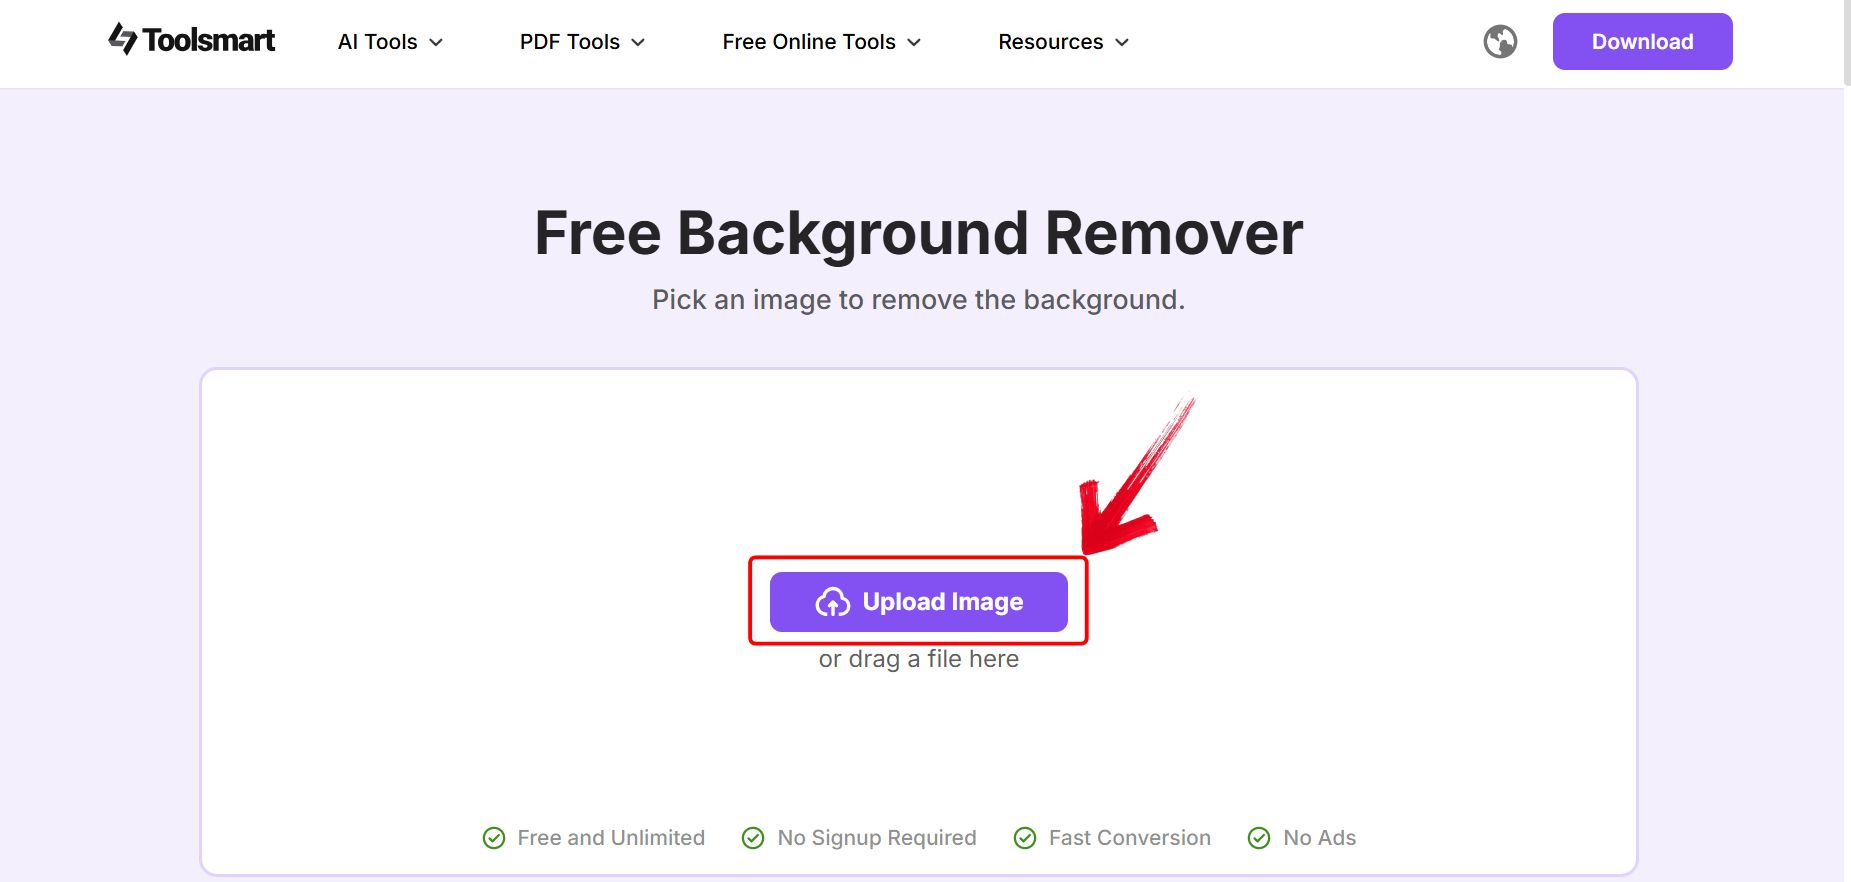
Step 3 : You can preview the result immediately. If needed, use the simple editing options to tweak the background color or edge smoothing.
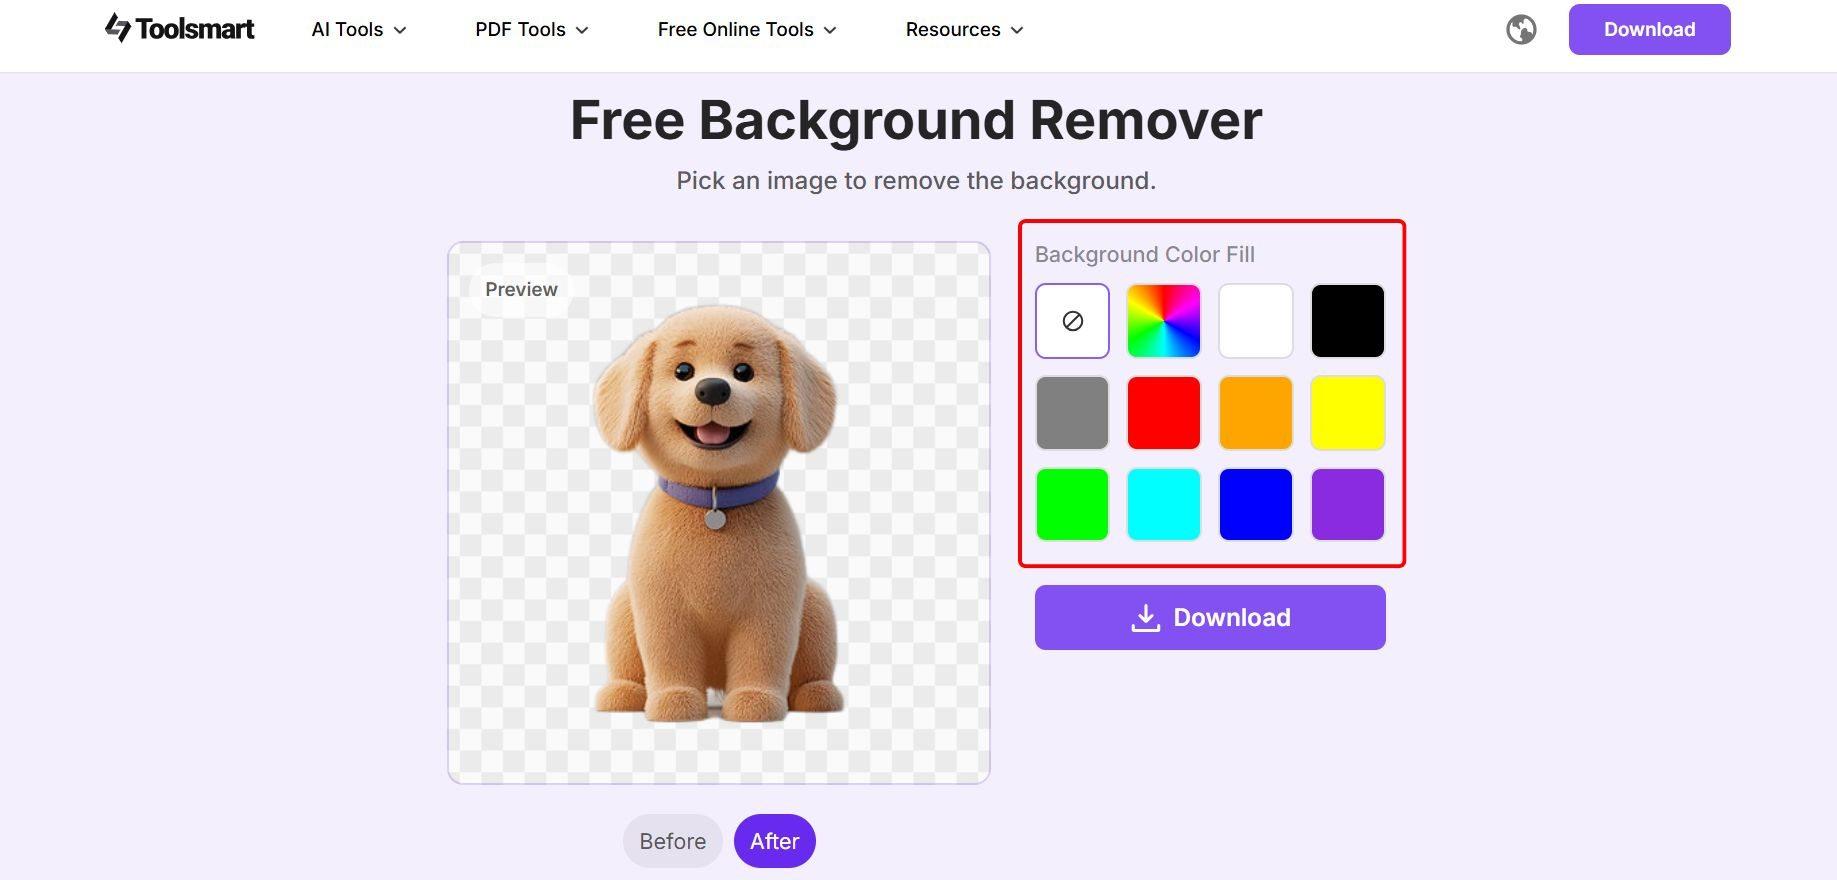
Step 4: Click “Download” to save the image with a transparent background. That’s it, ready to use wherever you need it.
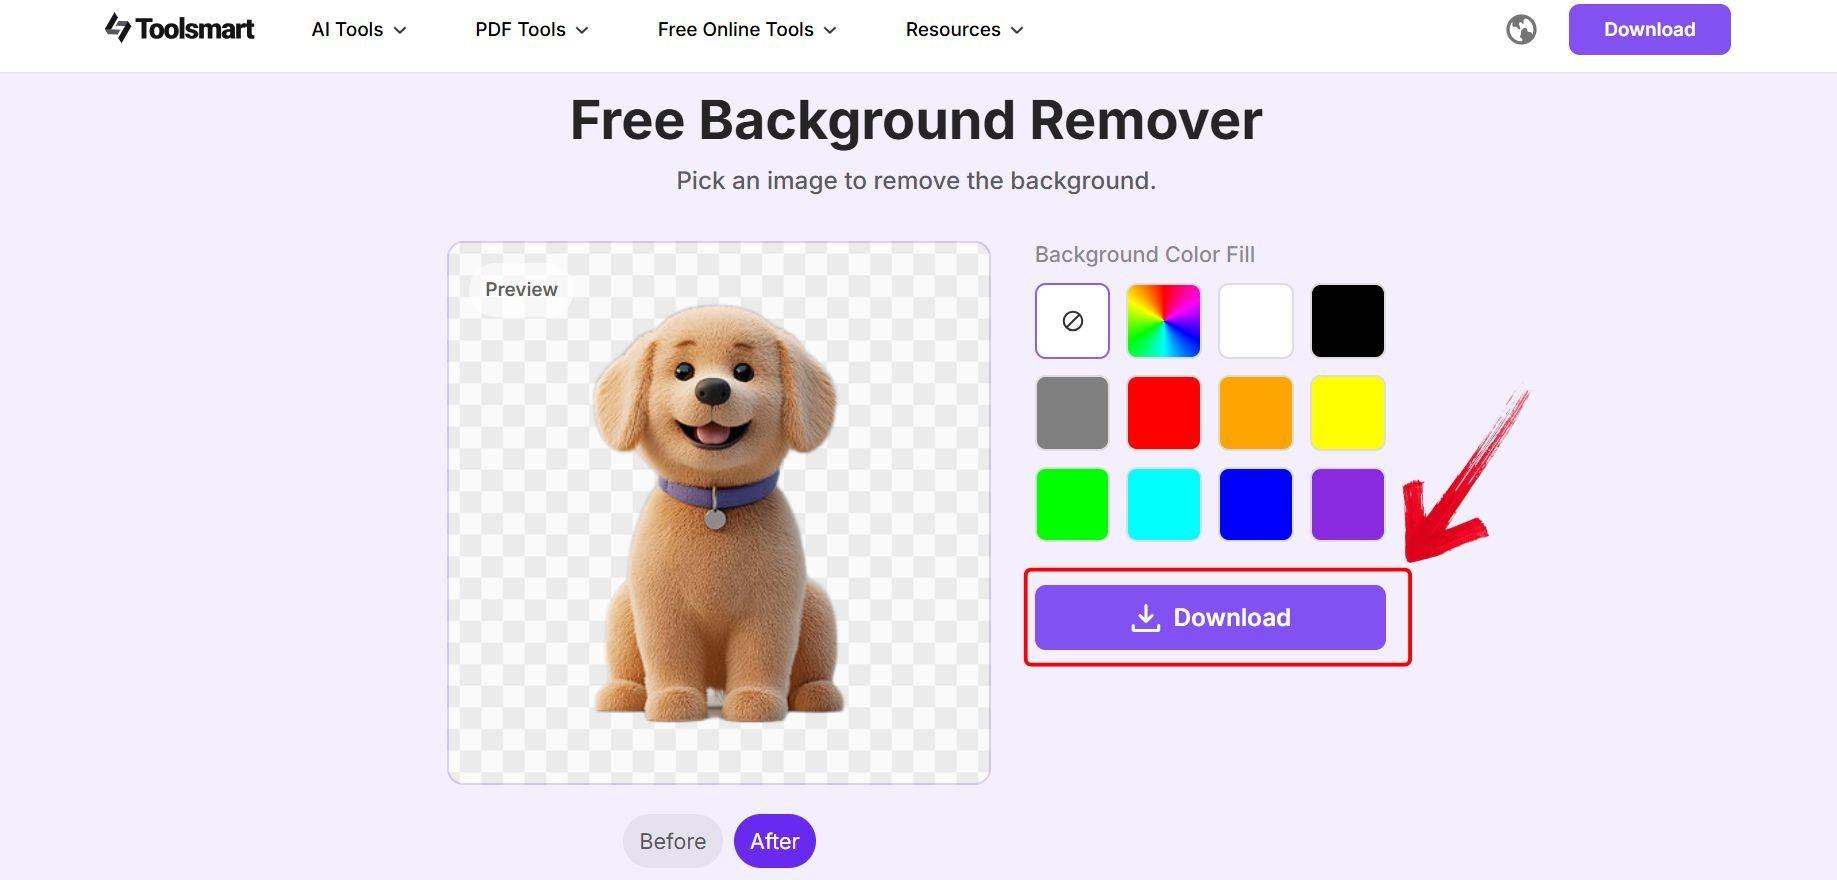
I have Toolsmart’s background Remover on multiple occasions, and let me tell you, it always performs exceptionally. It doesn’t throw ads in your face, ask you to sign up or ask you to buy something. There are also no installs which means that everything is in your browser, except the image with the background removed, that will be on your device.
FAQs
Q1: What is the easiest way to remove an object in Photoshop?
For basic edits, the Content-Aware Fill tool is usually the fastest and easiest.
Q2: Which Photoshop tool is best for complex object removal?
The Clone Stamp and Patch Tool offer the most control for complex areas.
Q3: What’s the difference between removing an object and removing the background?
Object removal targets specific items within a photo, while background removal erases everything but the subject.
Q4: Is Toolsmart’s Background Remover free to use?
Yes, it’s completely free and doesn’t require installation or login.
Q5: What’s the difference between Clone Stamp and Healing Brush?
Clone Stamp copies pixels exactly. Healing Brush blends texture and tone automatically for smoother results.
The Best Way to Remove Objects in Photoshop
Even though all the tools in Photoshop, like the Content-Aware Remove and the Healing Brush tool are brilliant and very helpful, they can be very hard to learn and get used to when you are just starting out your editing journey. So, to someone who does not know how to use Photoshop, I would recommend using Toolsmart’s Background Remover. It’s completely free and has no ads, alongside being completely browser based.

