Google Photos is great for backing up your photos, but it’s easy to end up with too many pictures you don’t actually need. Maybe you took multiple shots of the same thing, or your gallery is full of screenshots and blurry images. I’ve been there, and sometimes you just want to free up space or clean things up. In this guide, I’ll show you how to delete a picture from Google Photos on both your phone and computer, and how to use Toolsmart AI Image Enhancer to improve the ones you decide to keep. It's free and super easy to use.

How to Delete Photos from Google Photos
If you’ve been wondering how to delete picture from Google Photos but aren’t sure where to start, you’re not alone. Whether you're trying to free up storage or just tidy up your photo library, there are a couple of easy ways to do it depending on the device you're using. In this section, I’ll walk you through both methods so you can choose what worksbestfor you.
Method A: Mobile App
If you mostly use your phone and are searching for how to delete picturetures on Google Photos, this is the easiest method to start with. The Google Photos app gives you quick access to your gallery and lets you removesingle photos or entire batches in just a few taps.
Step 1: Open the Google Photos appon your phone.
Step 2: Tap and hold any photo to select it, then tap on others to select more.
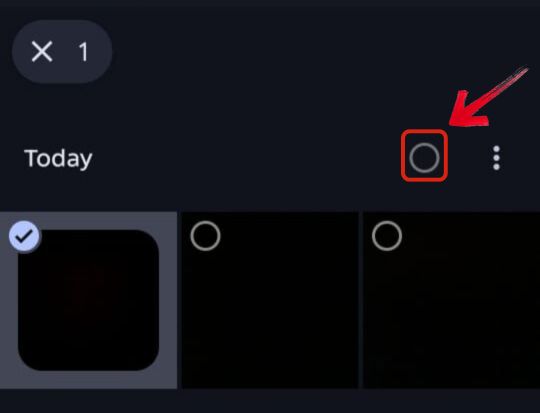
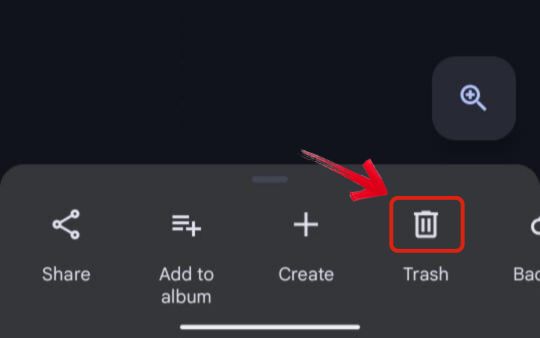
Step 3: Tap the trash icon that appears at the bottom once you’ve selected the photos.
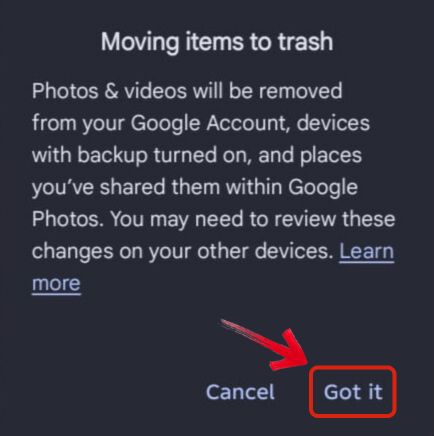
Step 4: Now you’ll receive a warning or confirmation. Just select Got it and then move to trash.
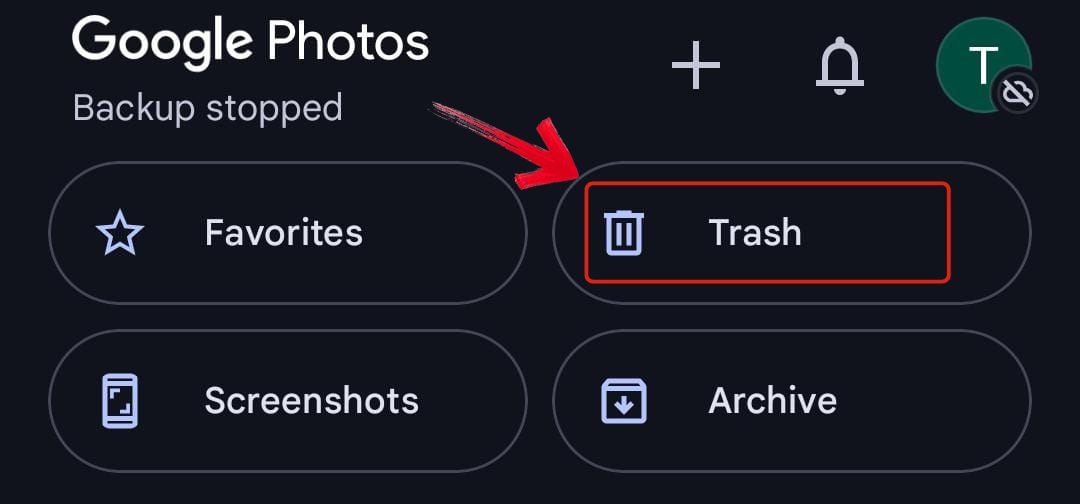
Step 5: To fully remove them, go to the Trash folder. You’ll find it in the Collections menu.
Step 6: Now select the deleted photos in the Trash bin.
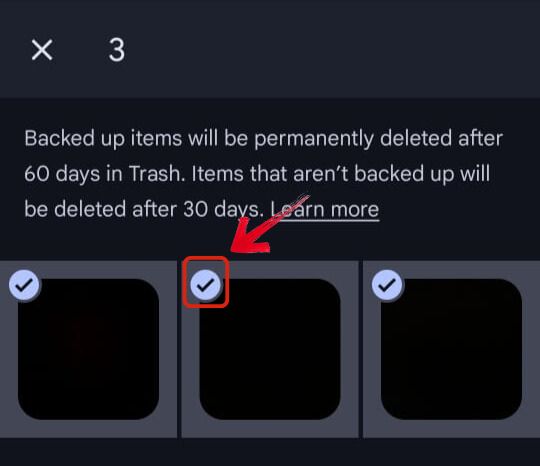
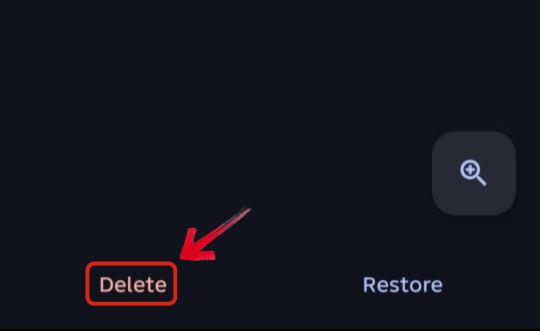
Step 7: After selecting those pictures, tap on theDelete option that appears at the bottom.
Tips for Beginners:
Use Select All if you're trying to clean up a whole album or folder quickly.
Temporarily turn off Backup and Sync if you don’t want deleted photos to keep coming back.
If you accidentally delete something, don’t panic. You can recover it from the Trash within 60 days.
Method B: Web Browser
If you’re on a laptop or desktop and want a bigger screen to work with this method is perfect. It’s also helpful if you’re looking for how to eraseGoogle Photos in bulk since selecting and deleting multiple images is super easy with a keyboard and mouse.
Step 1: Go to photos.google.com and sign in to your Google account if you’re not already logged in.
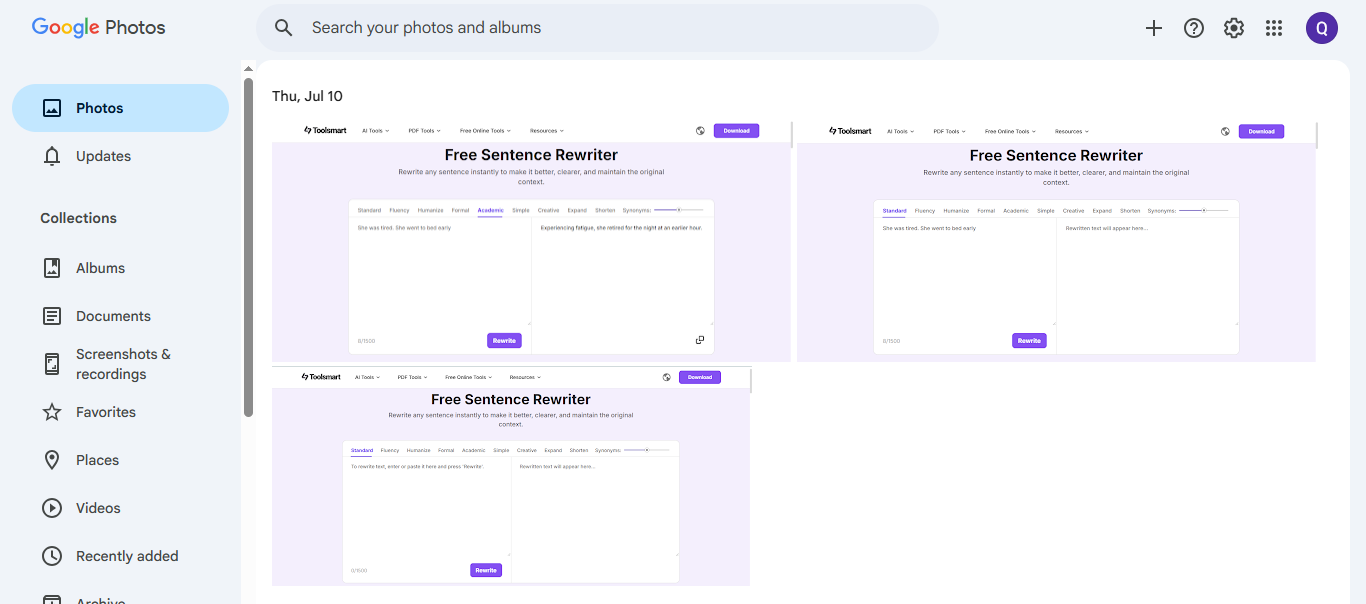
Step 2: Click on any photo to select it. If you want to delete more, hold the Shift key and click to select a batch.
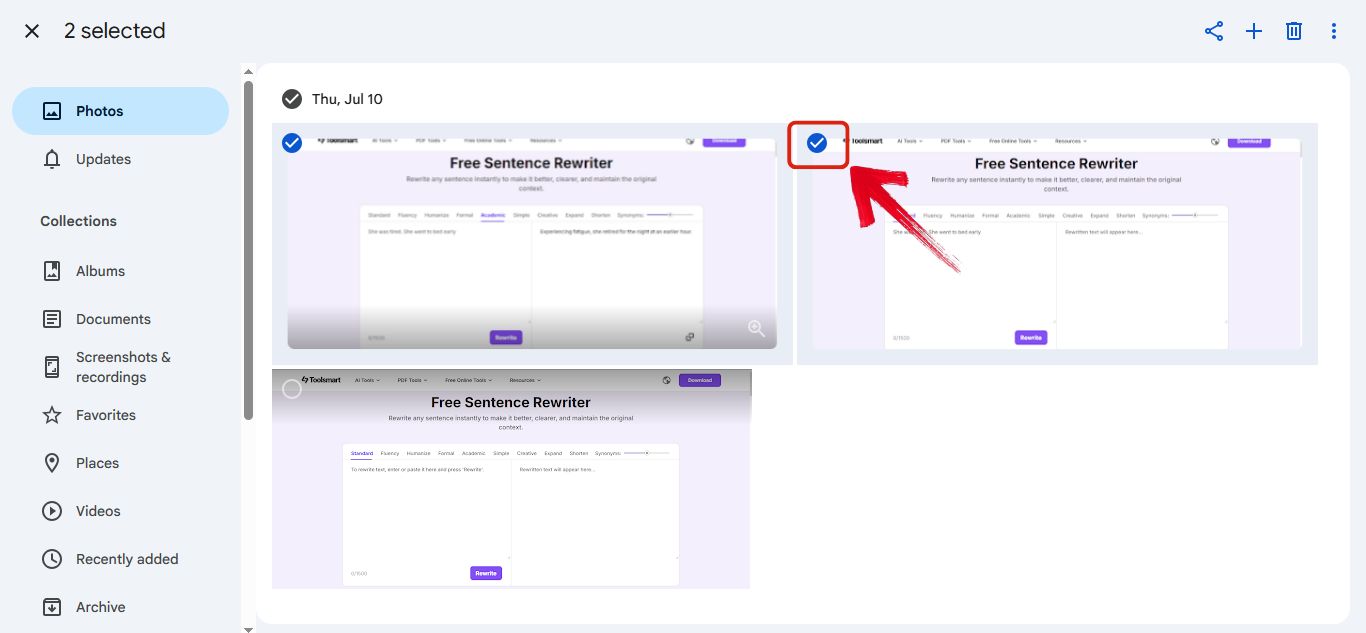
Step 3: Right-click on the photo and select Delete, or just click the trash icon at the top right.
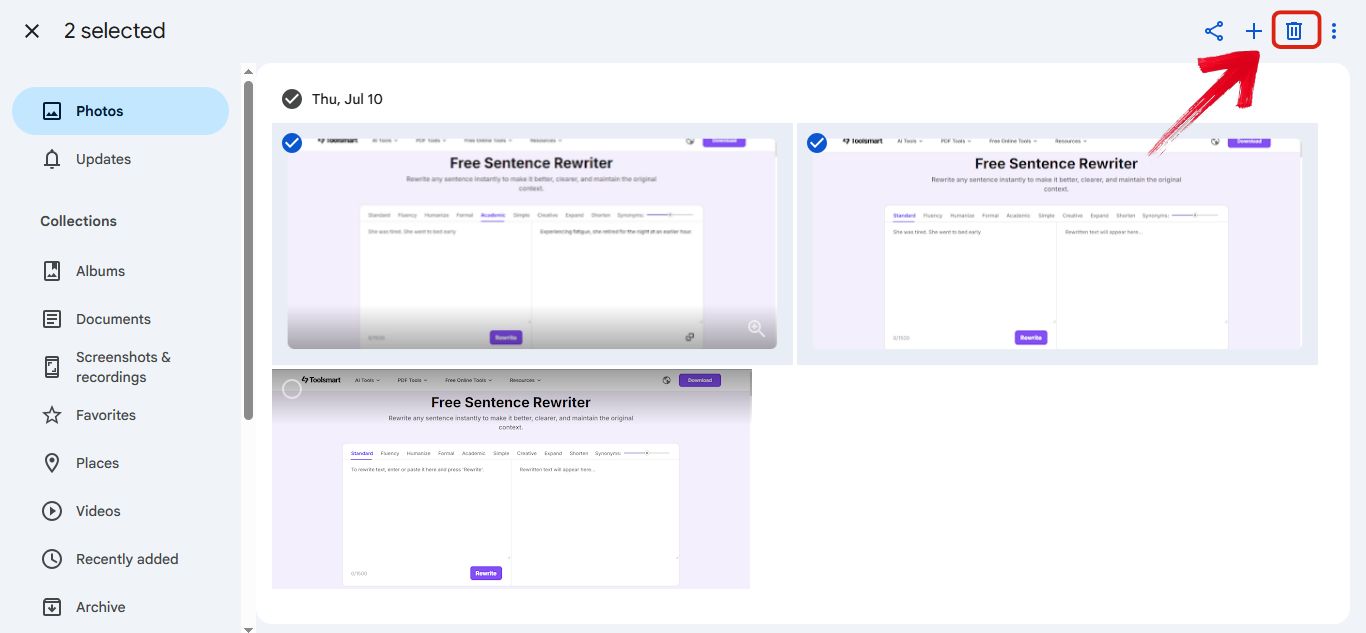
Step 4: A warning will appear on screen. Just click “Got it” to confirm and proceed.
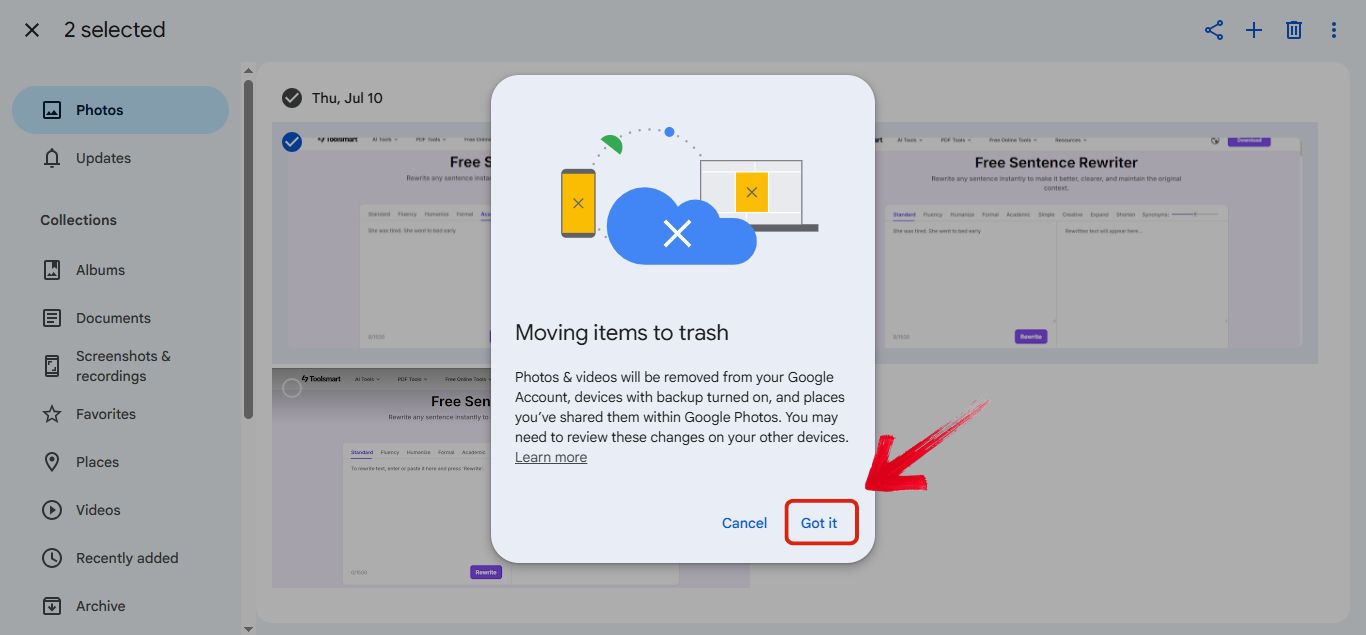
Step 5: To remove them permanently, go to the Trash folder from the sidebar and click “Empty Trash.”
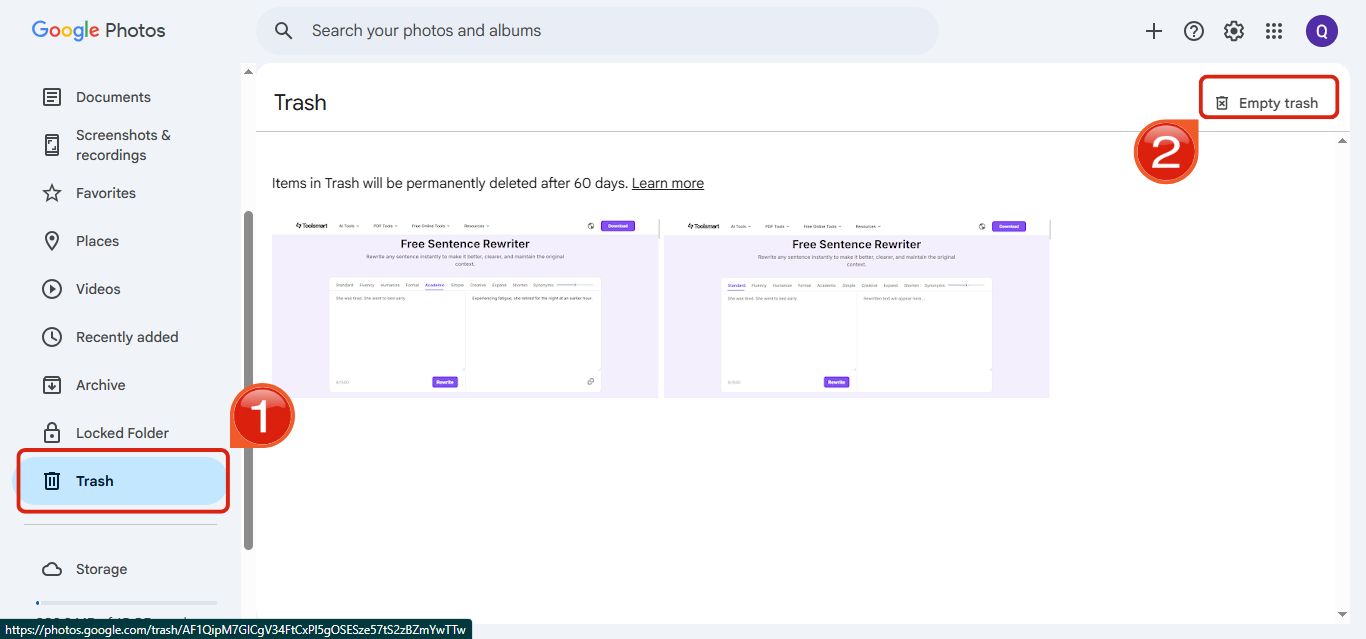
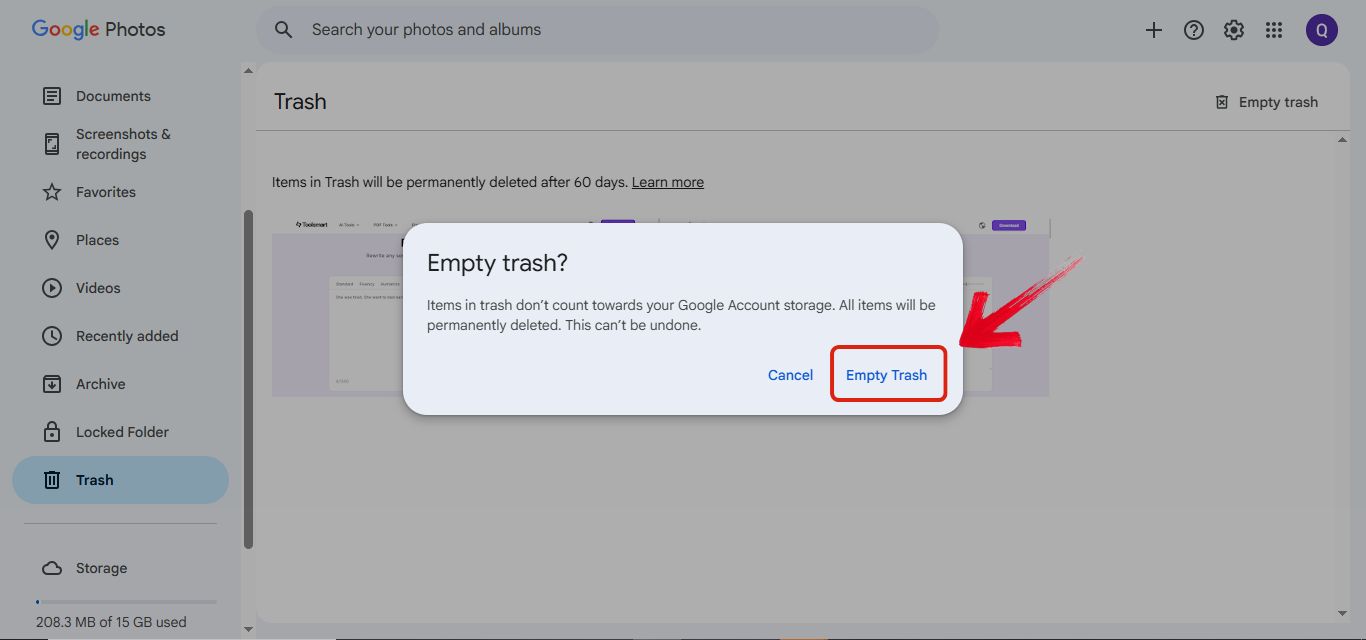
Step 6: Another warning will pop up. Just click on “Empty Trash” again to permanently delete the photos.
Tips for Beginners:
Use Shift + Click to select a group of photos quickly instead of clicking one by one.
If your deleted photos keep coming back, try turning off Backup and Sync just like on mobile.
Want to delete all photos from a certain day or event? Use thesearch bar by date to make things quicker.
Optimize Your Photos with Toolsmart Image Enhancer
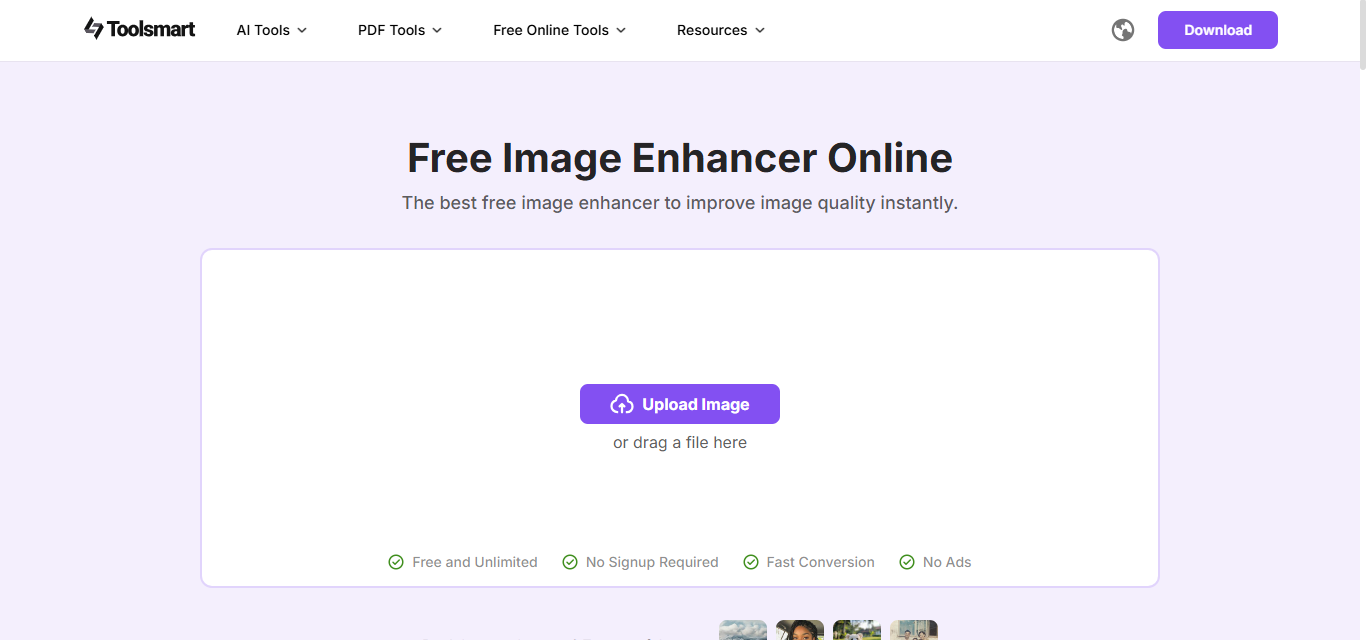
Once you’ve deleted the photos you no longer need, it’s a good time to clean up the ones you’re keeping. Some might look blurry, dull, or just low quality, especially if they’re older or saved from other apps. That’s where Toolsmart Image Enhancer comes in. It’s a free, web-based tool that improves photo quality with just one click. You don’t need to install anything or create an account, and it works on any device. It automatically sharpens your images, reduces noise, and even lets you enhance multiple photos at once. I like using it right after a big photo cleanup because it makes the picturetures I decide to keep look even better.
Why Use It After Deletion:
Fix blurry or low-quality photos you decided to keep
Make images look cleaner and sharper before sharing or backing them up
Save time by enhancing everything in one go
Key Features That Make It Worth Using:
AI-powered enhancement: automatically sharpens images and reduces noise
Batch processing: lets you improve multiple photos at once
No downloads needed: works directly in your browser without installing anything
Completely free: no login, sign-up, or hidden charges
Device compatibility: works on phones, tablets, laptops, and desktops
Privacy safe: your images are not stored after processing
Fast results: enhanced photos are ready in just a few seconds
How to use Toolsmart AI Image Enhancer:
Using Toolsmart AI Image Enhancer is super simple, even if you’ve never used an editing tool before. Everything works right in your browser, and the process takes just a few clicks from start to finish. Here’s how you can enhance your photos quickly and easily without any sign-ups or downloads.
Step 1: Head over to Toolsmart Image Enhancer using your browser.
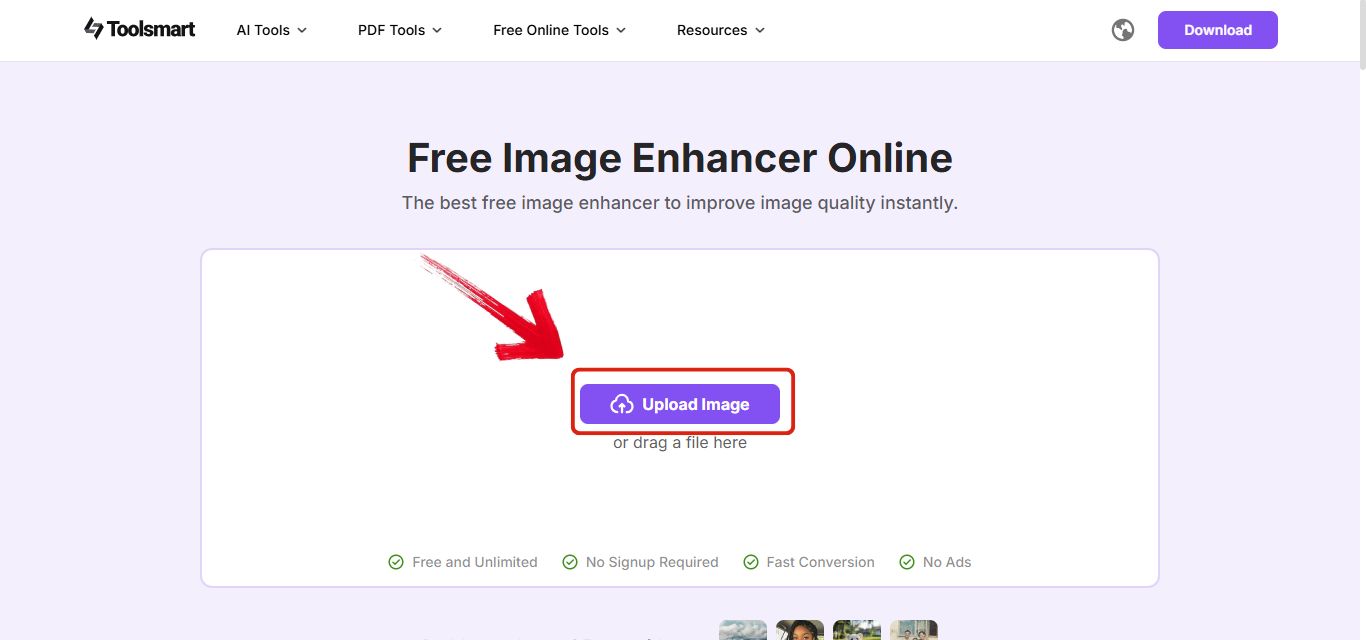
Step 2: Click "Upload Image" and select the photo you want to enhance.
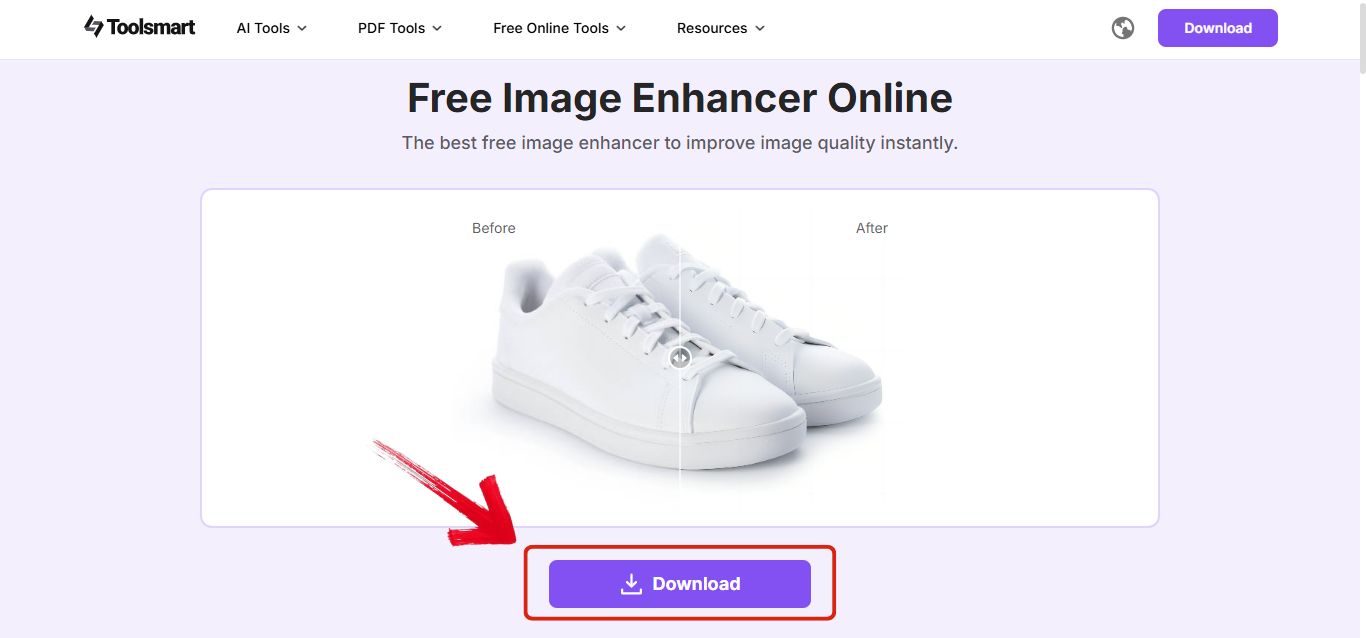
Step 3: Once uploaded, you’ll see aside-by-side preview showing the before and after. Toolsmart will automatically enhance the image by sharpening details, improving brightness, and adjusting the contrast.

Step 4: When you’re satisfied with the result, click the "Download" button to save your enhanced product photo.
FAQs
1. Can I recover photos after deleting them from Google Photos?
Yes you can. When you delete a photo it first goes to the Trash folder and stays there for 60 days. During that time you can restore it easily if you change your mind. After 60 days though the photo is permanently deleted and can’t be recovered.
2. Does deleting photos from Google Photos free up storage space?
Yes it does. Once you permanently delete photos from the Trash folder that space is cleared from your Google account. It’s one of the best ways to get back some storage quickly.
3. Can I delete multiple photos at once?
Definitely. Whether you're using the mobile app or the web version you can select as many photos as you want and delete them all in one go. It saves a lot of time if you're doing a big clean-up.
4. Do I need to pay or register to use Image Enhancer?
No, not at all. Image Enhancer by Toolsmart is completely free and doesn’t require any sign-up. You just open the site, upload your photos and start enhancing right away.
5.Is Image Enhancer safe to use?
Yes it’s safe. Your photos are not stored or shared anywhere and everything is processed securely in your browser. You stay in full control of your files.
6. How long does it take to enhance an image with Image Enhancer?
It’s super quick. The tool works instantly and your enhanced photo is usually ready within a few seconds. You don’t have to wait or deal with any complicated steps.
Make Your Clean Photos Look Even Better
Deleting photos from Google Photos is easier than it seems. Whether you're using the mobile app or the web version, you can quickly remove the pictures you no longer need and free up space in your account. If you’ve been wondering how to delete picture from Google Photos, the steps are simple. Just don’t forget to empty the Trash to make it permanent. And once you're done clearing things out, it’s the perfect time to give your remaining photos a little boost. Toolsmart Image Enhancer helps you do exactly that. It's free, easy to use, and improves your photo quality in seconds with just one click. So after tidying up your library, Toolsmart Image Enhancer makes sure the photos you keep actually look their best.

