There are moments when a meme idea lands in your messages and demands to be made, or times when a product mockup needs the right visual tweak. When you sit down to combine two images, one might vanish, overlap awkwardly, or turn into a mess. It sounds easy enough, but things rarely line up the way you expect. In this guide, I’ll take you through how to add a picture to a picture using three reliable tools with clear steps and a tip at the end to help you finish with a clean, polished result.
The Basics of Adding a Picture to a Picture
It was springtime and I was making a poster for a school event. That was the first time I tried to layer one image onto another. I had the background ready and just needed to drop a logo on top, but instead, it resized weirdly, lost quality, and looked totally off. That’s when I realized that adding a picture to a picture is really about using layers. Just like stacking transparent sheets, each image gets its ownlayerthat can be moved, resized, and adjusted without affecting the others.
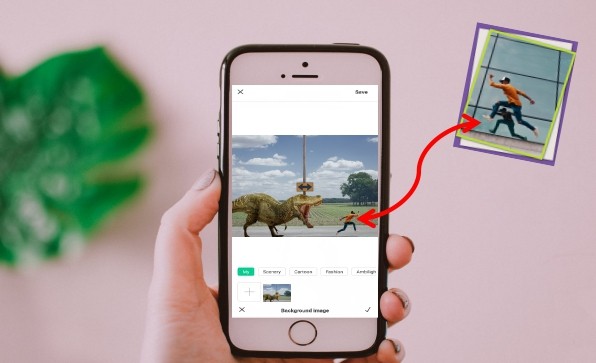
Once I understood that, everything fell right into place. Suddenly, layering wasn’t just something technical as it became a tool for me that I could use for all kinds of quick projects and creative ideas. Here are a few common ways people use image layering:
Making collages for events, mood boards, or memory walls
Designing social media posts with text, icons, and image overlay
Creating digital art with multiple textures and photo elements
Mocking up products or posters by placing logos or graphics on a base image
Building presentations with stacked visuals andbackgroundeffects
Most photo editors are built around this layering concept. You start with a base image, then add another picture as a new layer which you can move, resize, rotate, or blend using tools like opacity sliders, filters, and effects. Tools that let you overlay images online follow the same idea, they just make the process quicker and more accessible for casual or one-off projects.
Top 3 Tools to Add a Picture to a Picture
Once I mastered the “art” of layering, the next obstacle was gathering information about which tools actually made the process easy. Some were too limited, others way too complex for a simple task like adding one image onto another. I didn’t want to spend hours learning pro software just to make a quick graphic or social post. So I tested a bunch of platforms to see which ones felt intuitive but still gave me control and a few stood out more than the rest.
Canva: Design Made Easy
When I don’t want to mess around with layers and settings, I open upCanva. I use a blank design, throw in the background, then add whatever image I want on top. Everything’s right there on the screen. I can drag things around, line them up, and be done in a few minutes. There are no complex tools or hidden menus. It’s quick and visual, which is all I really need most of the time. Here’s I use it:
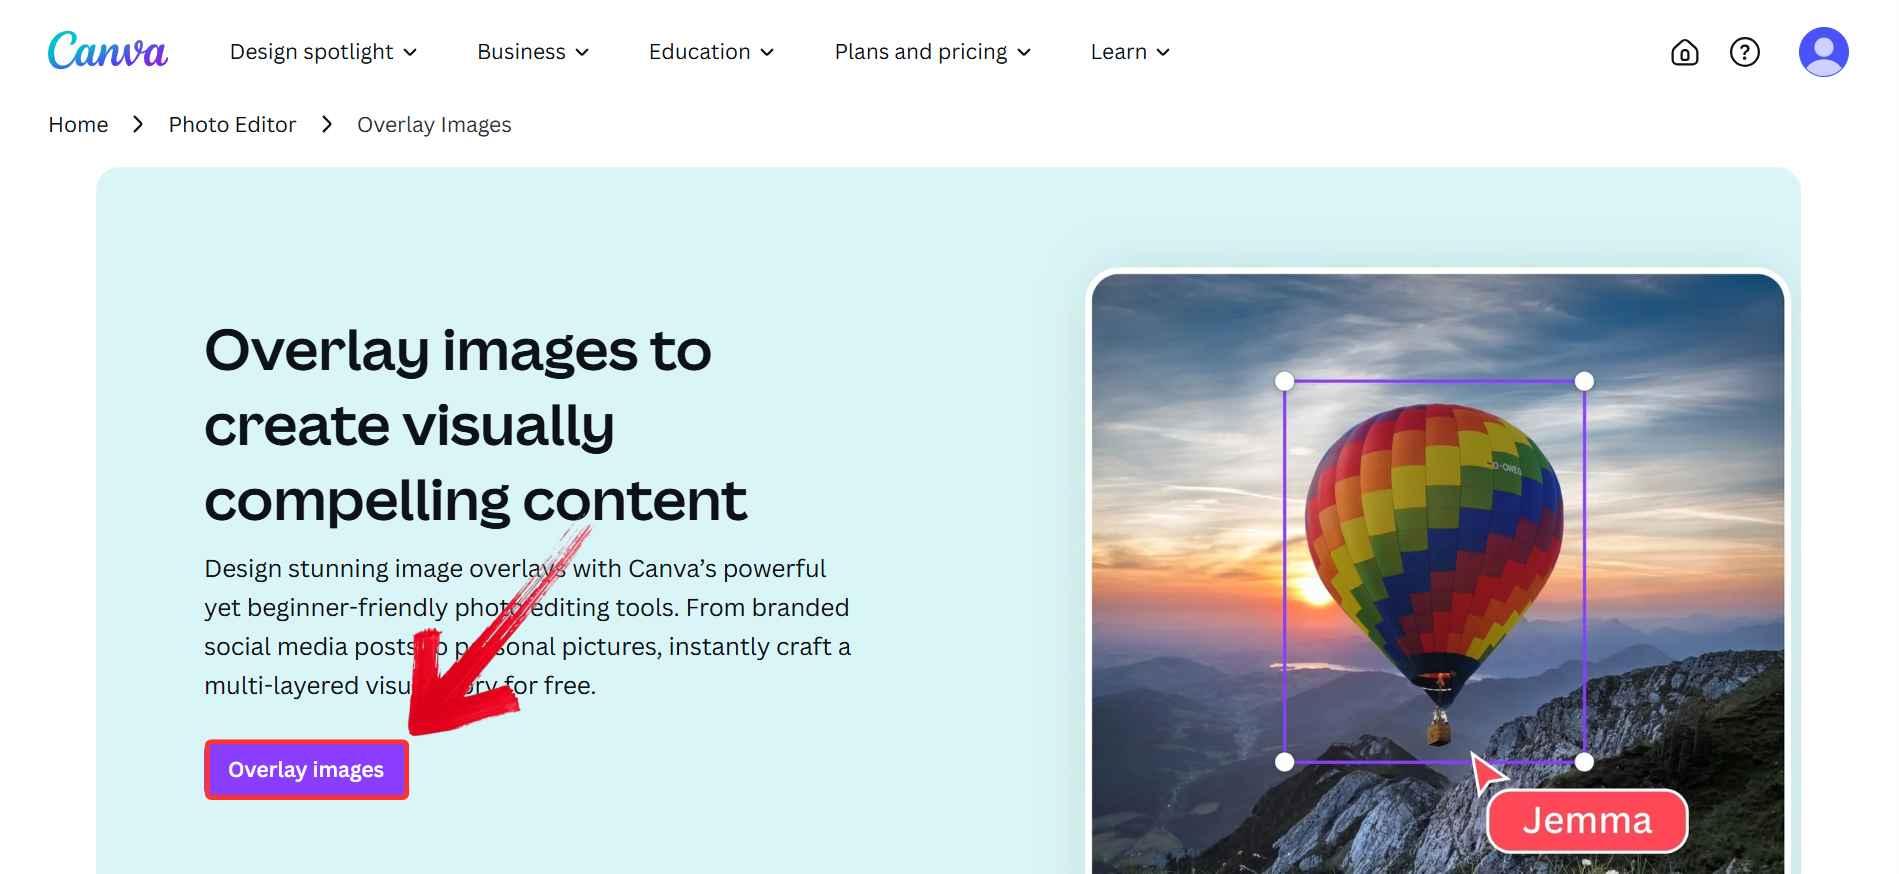
Step 1: Head over to Canva’s Image Overlayer and click “Overlay images”. This takes you straight to the design screen where you can start layering.
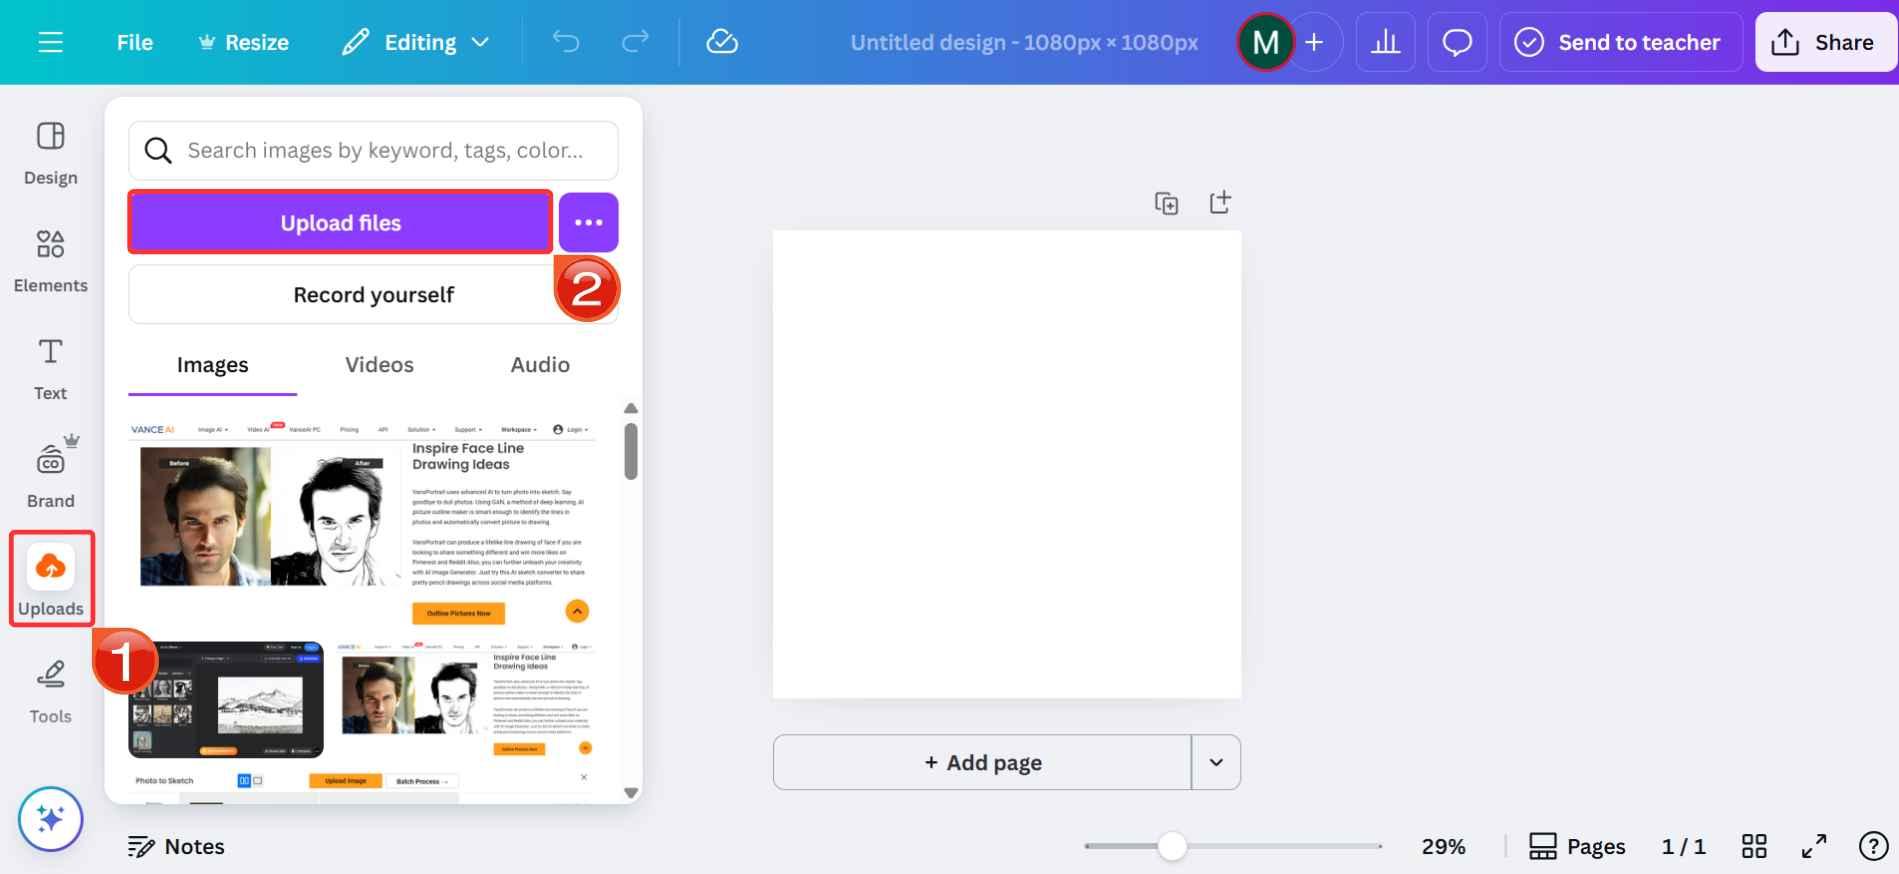
Step 2: Upload both images by using the“Uploads” tab on the left then clicking on“Upload files”.
Step 3: Once uploaded, drag your base image into the canvas first as this picture acts as your background.
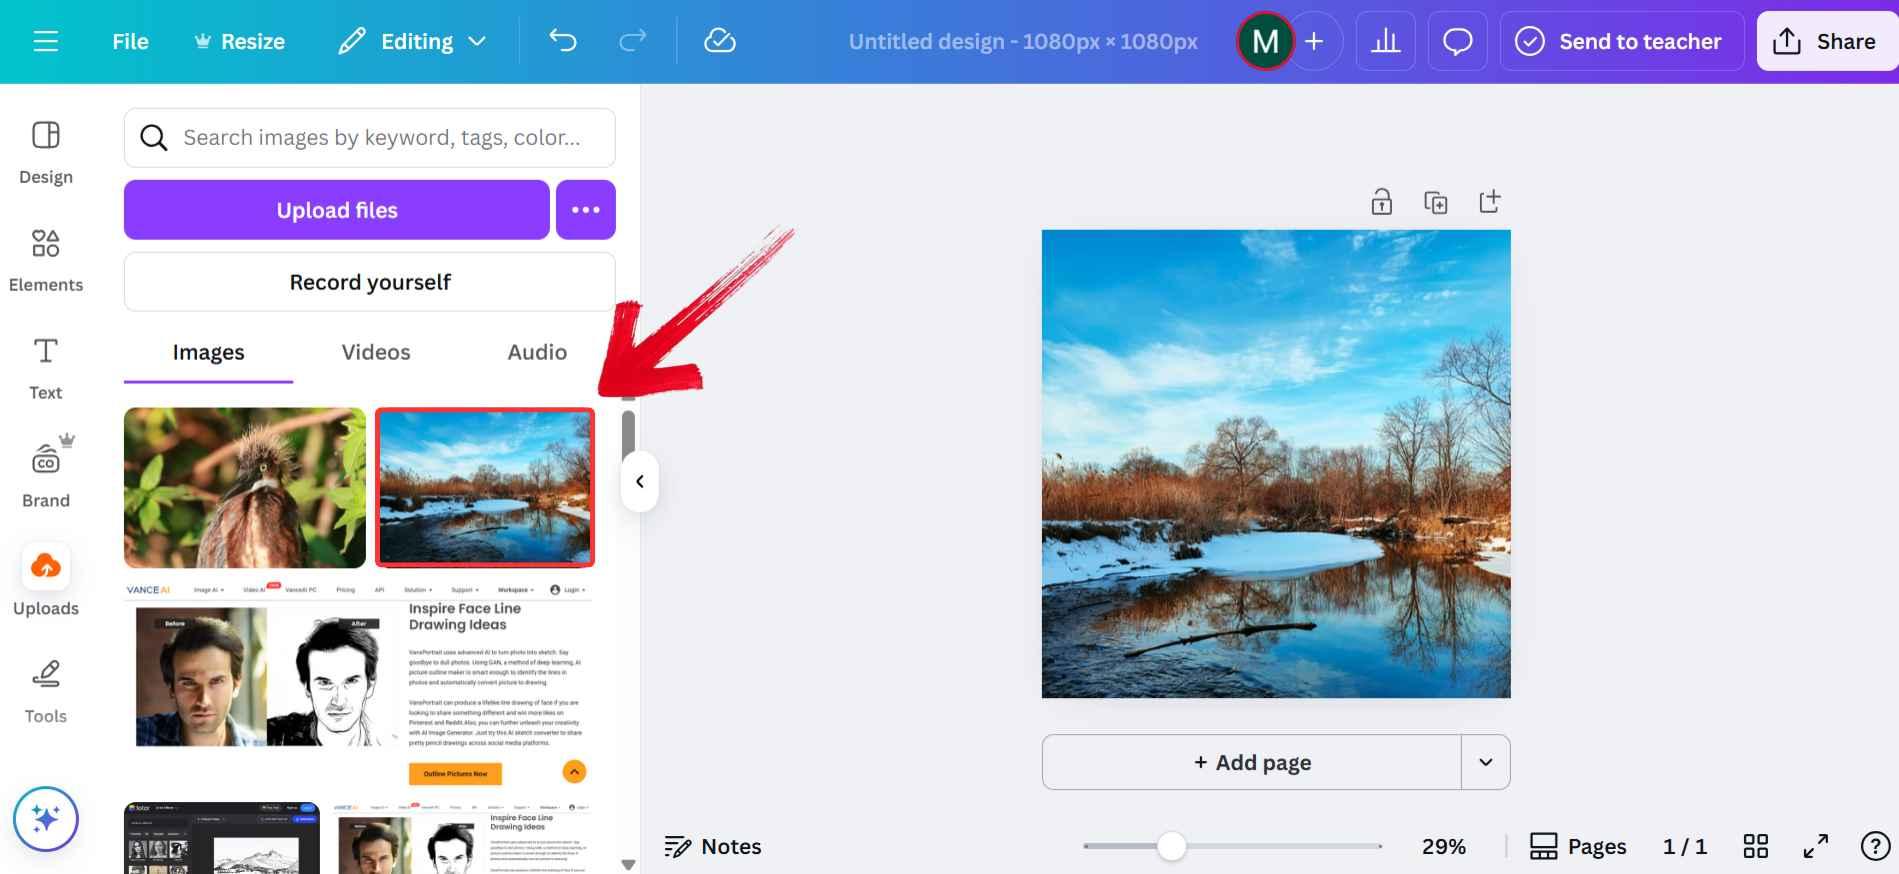
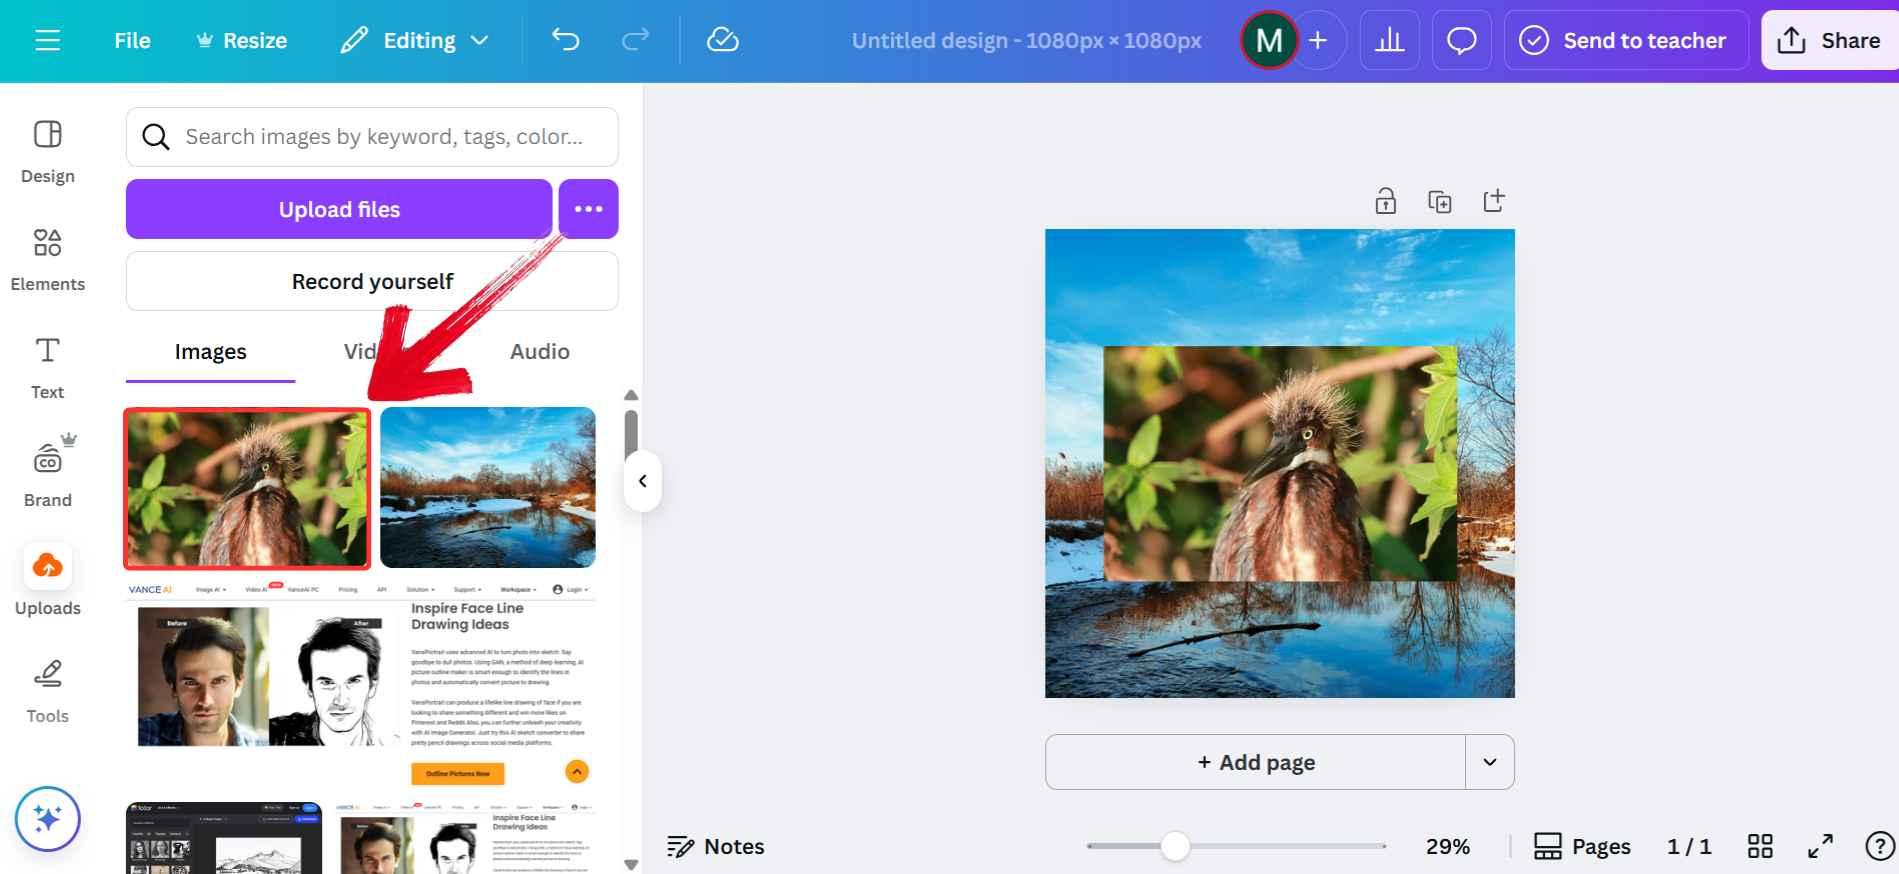
Step 4: Now drag your second image onto the canvas. You can resize, rotate, or move it around however you like. Canva snaps it into place, which makes alignment easier than you'd expect.
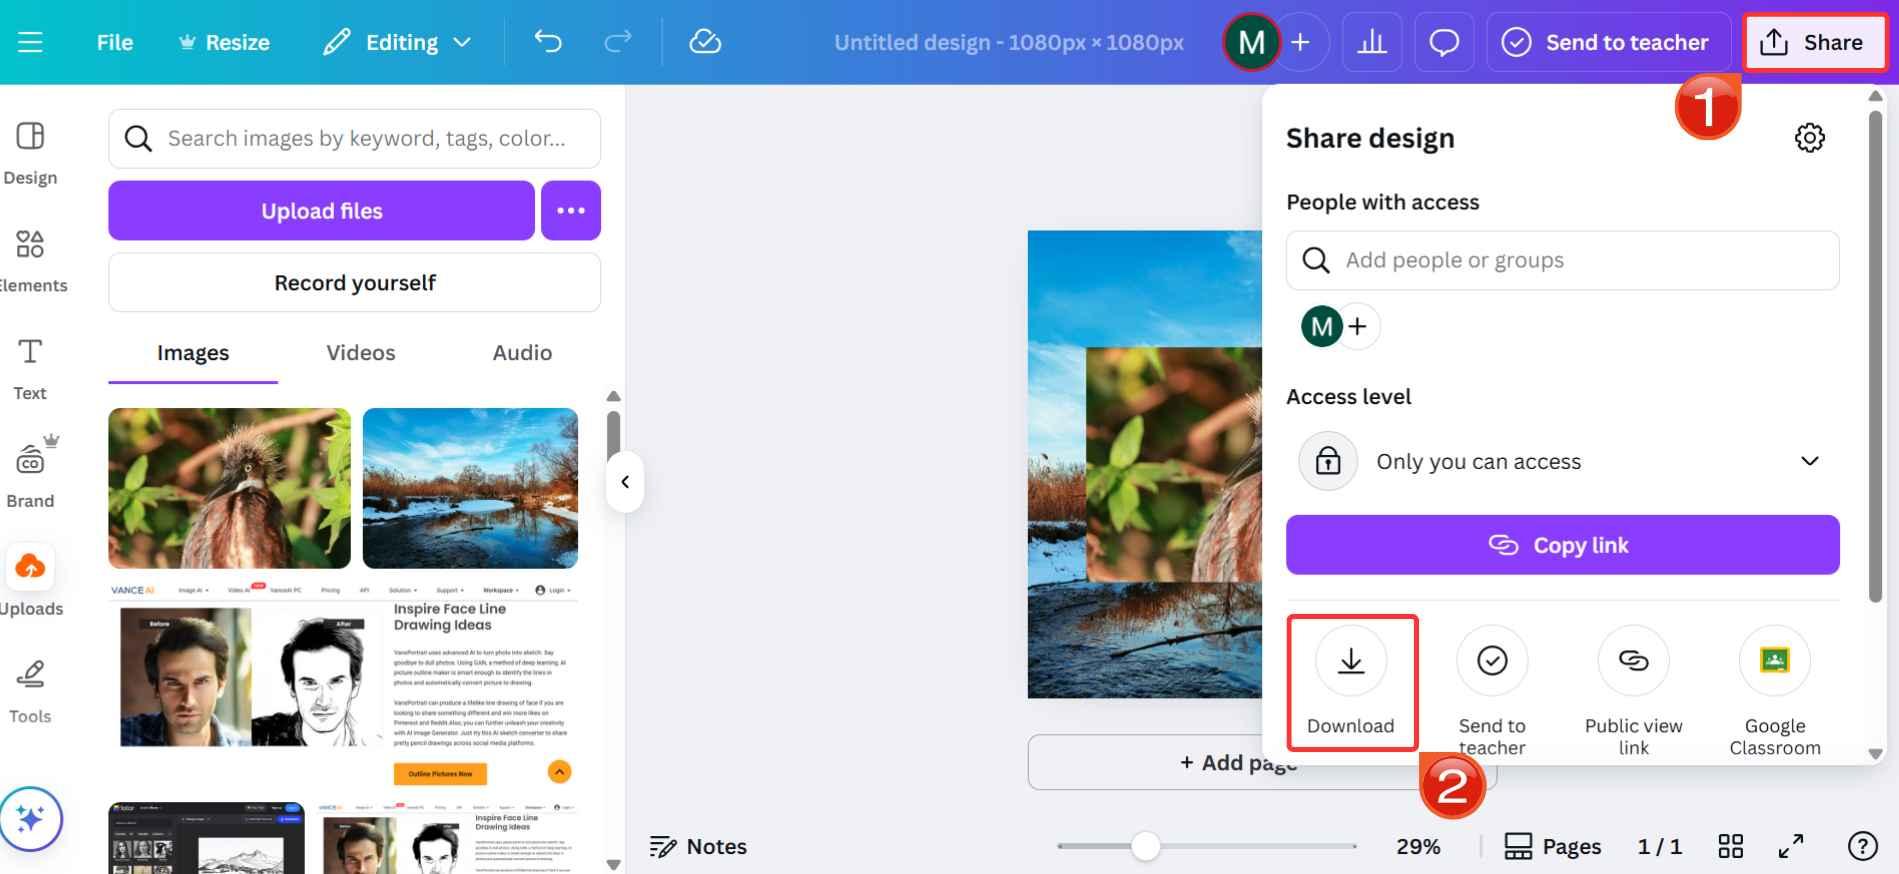
Step 5: Once it looks right, click“Share” in the top right, then“Download” to save the final design to your device.
Fotor: Quick Editing with Layering Power
Fotor was already installed on my phone, and I opened it when I needed to put a hat on my cat, literally. The app version was surprisingly steadier than I thought it would be as uploading a background, then adding a second image as an overlay took barely a minute. Moreover, I didn’t need to keep switching tabs or tools as it had filters, adjustment sliders, and basic effects all in one place.
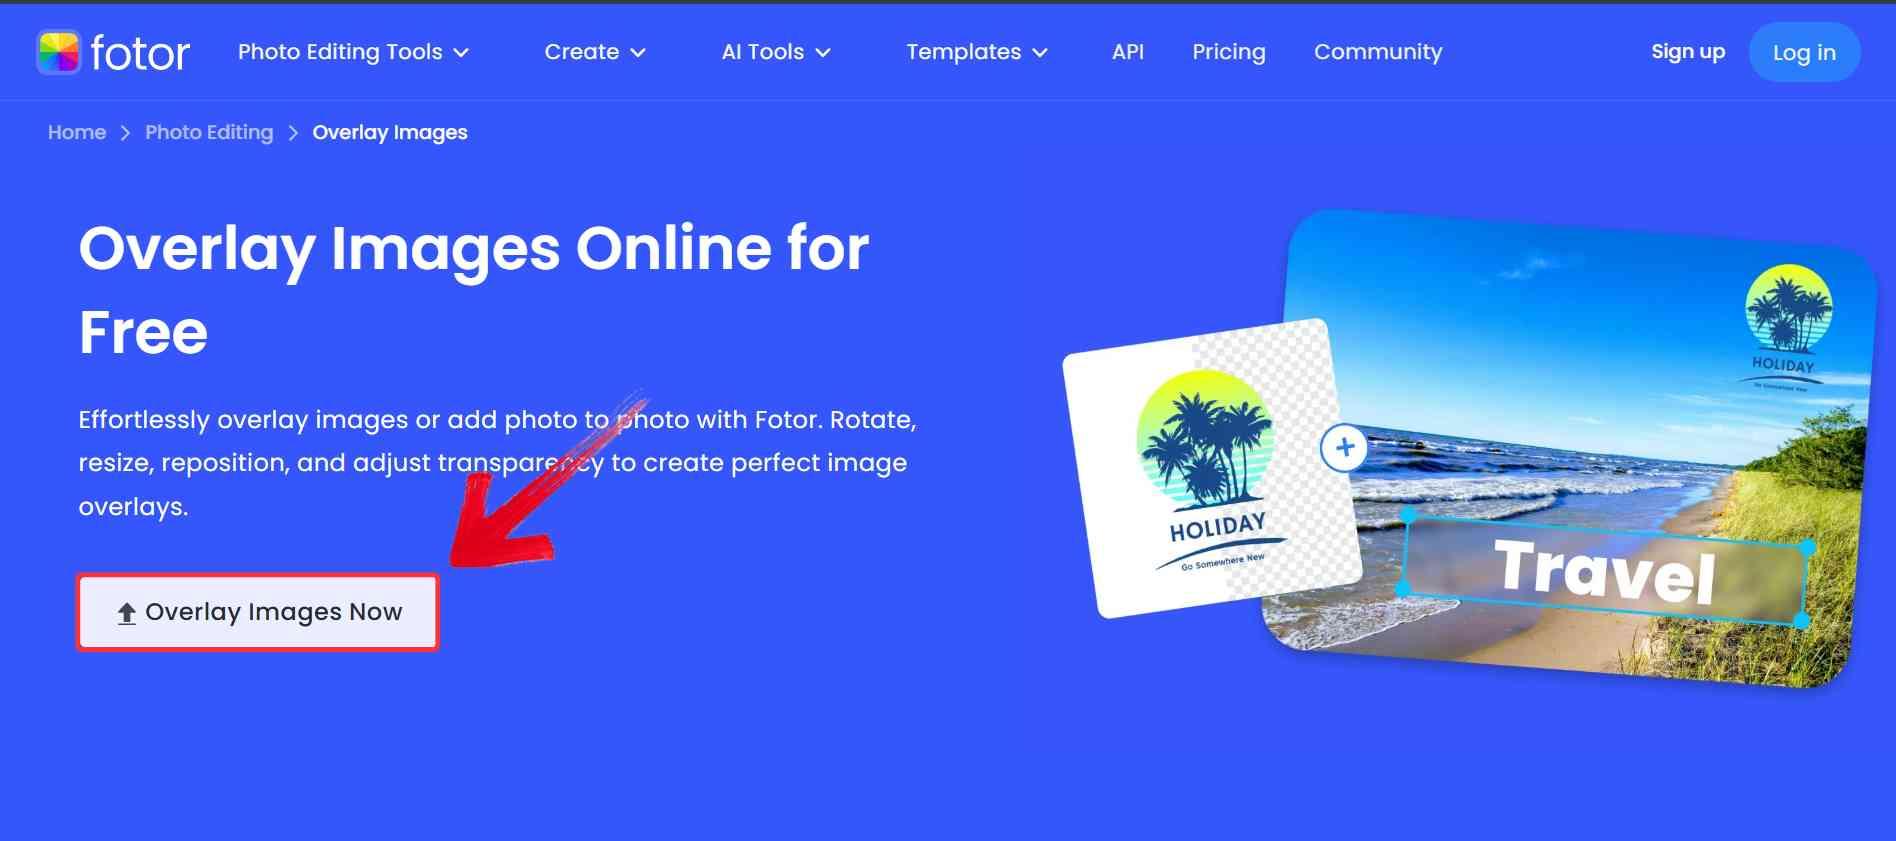
Step 1: Go to Fotor’s Overlay Image tool and click “Overlay Images Now” to upload your background image. This will load it onto the canvas as your starting point.
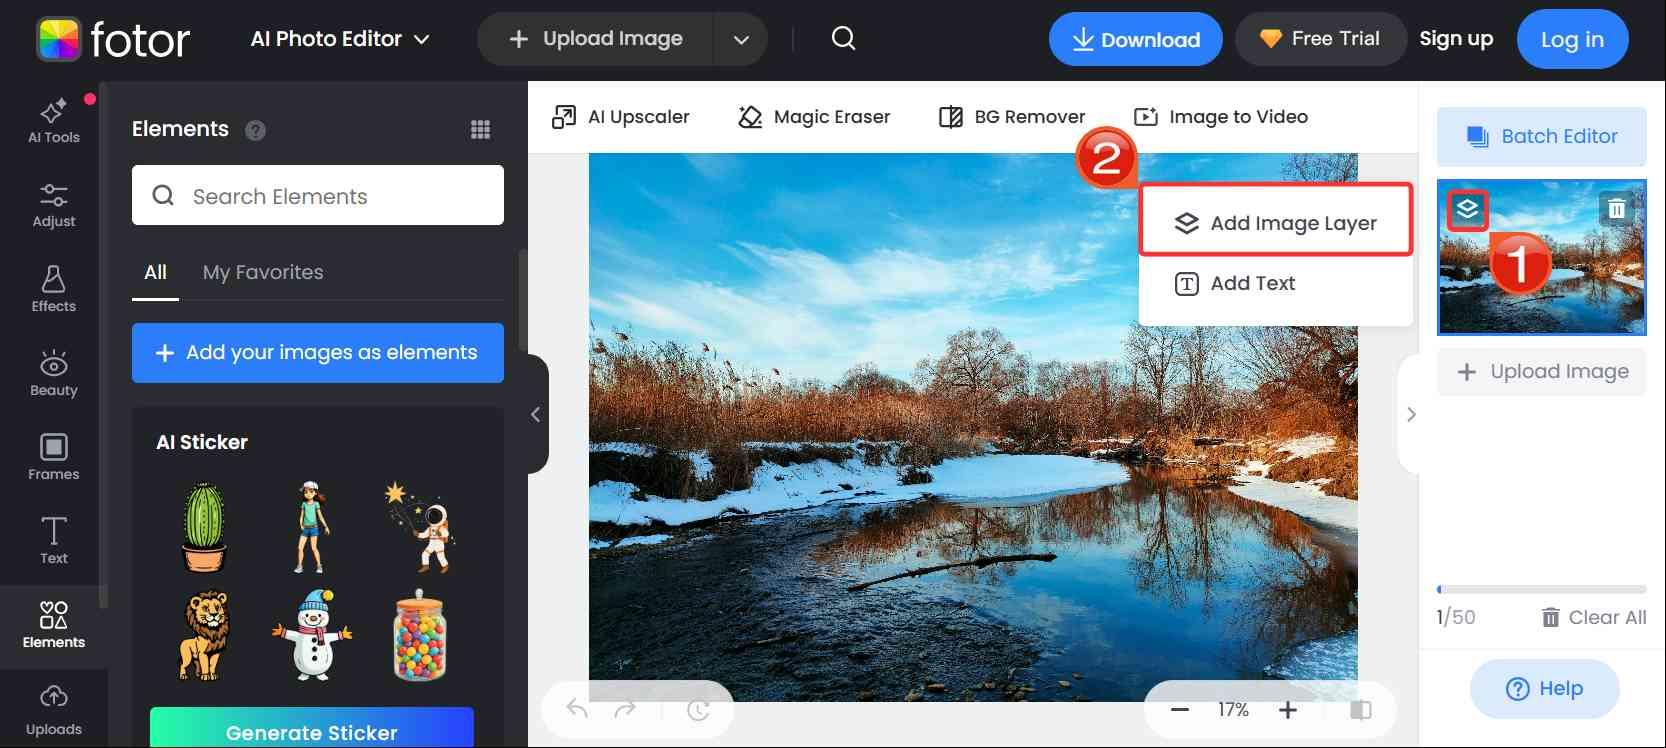
Step 2: Click the small icon with two stacked layers on the right side of the canvas. Then select “Add Image Layer” from the pop-up. This lets you upload your second image and layer it directly onto the background.
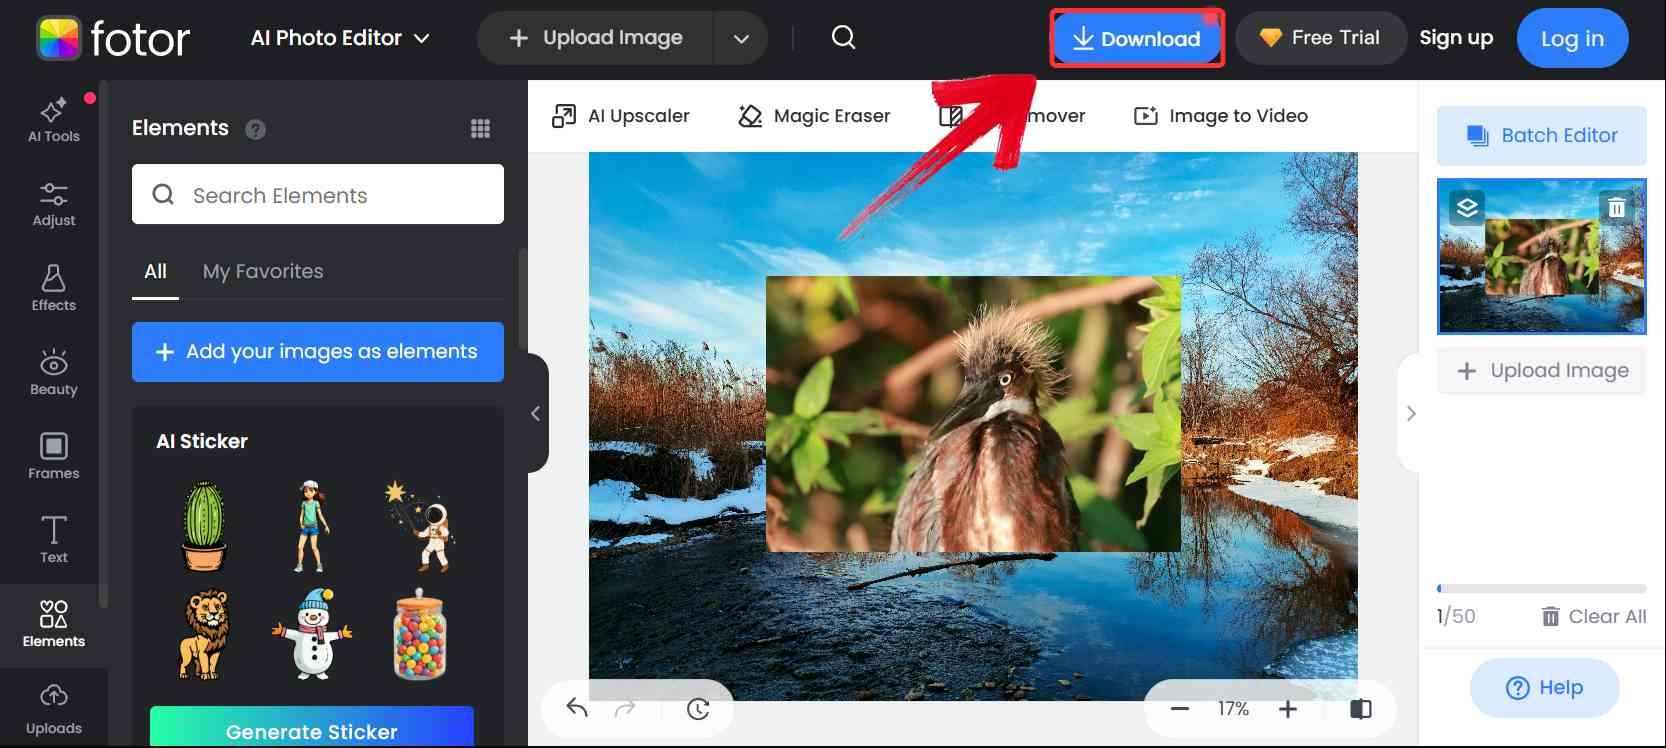
Step 3: You can move the picture around or resize it using the corner handles and when everything looks good, click“Download” in the top right to save the combined image.
Adobe Photoshop: The Professional’s Choice
Photoshopwas the one I hesitated to use. Not because it’s bad, just because it’s built for people who know what they’re doing. The first time I tried to layer two images in it, I got stuck figuring out masks and layer order. But once I got past that, I realized how powerful it really is. I could erase parts of the top image, play with opacity, and actually blend the two together in a way the other tools couldn’t match. It’s not something I’d open for a casual Instagram post, but for detailed projects, nothing beats it.
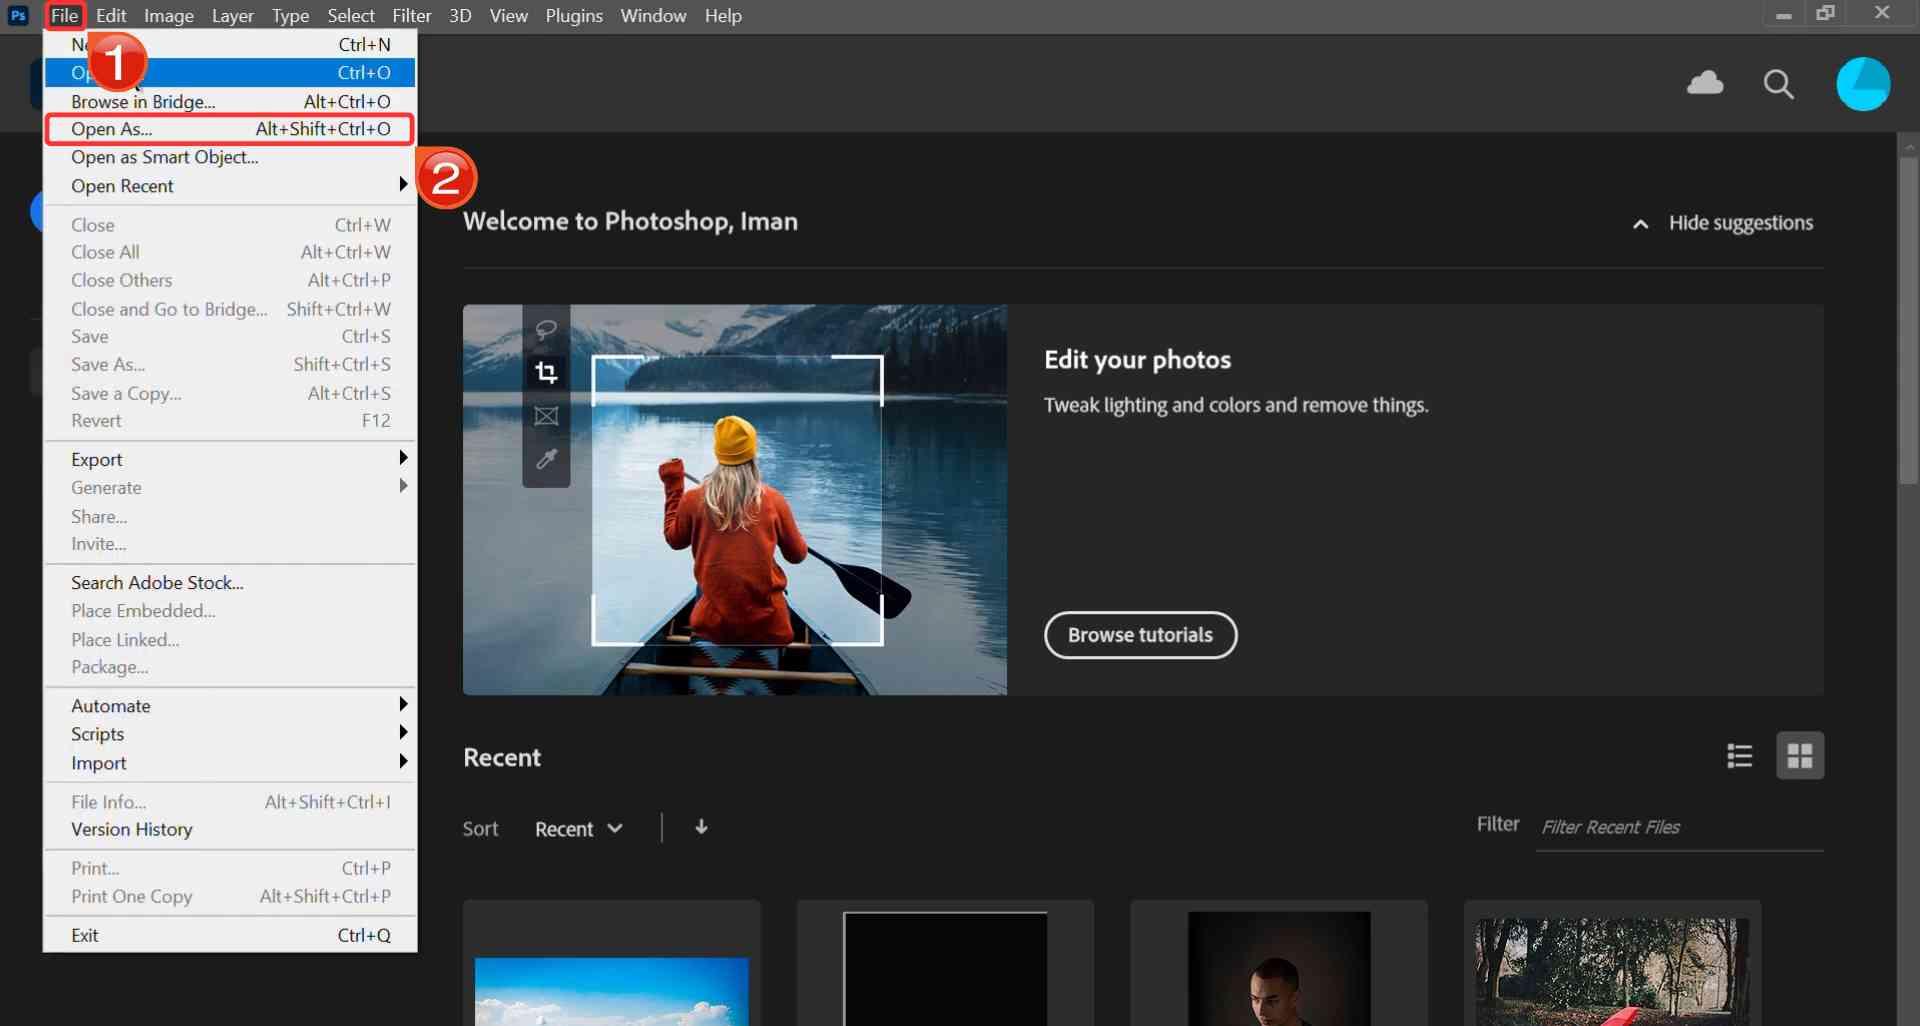
Step 1: Start by uploading both images in Photoshop by clicking on “File” then “Open As”. They’ll open as tabs at the top of your workspace.
Step 2: To see them side by side, click both the images and drab their tabs down from the top to detach them into separate windows.
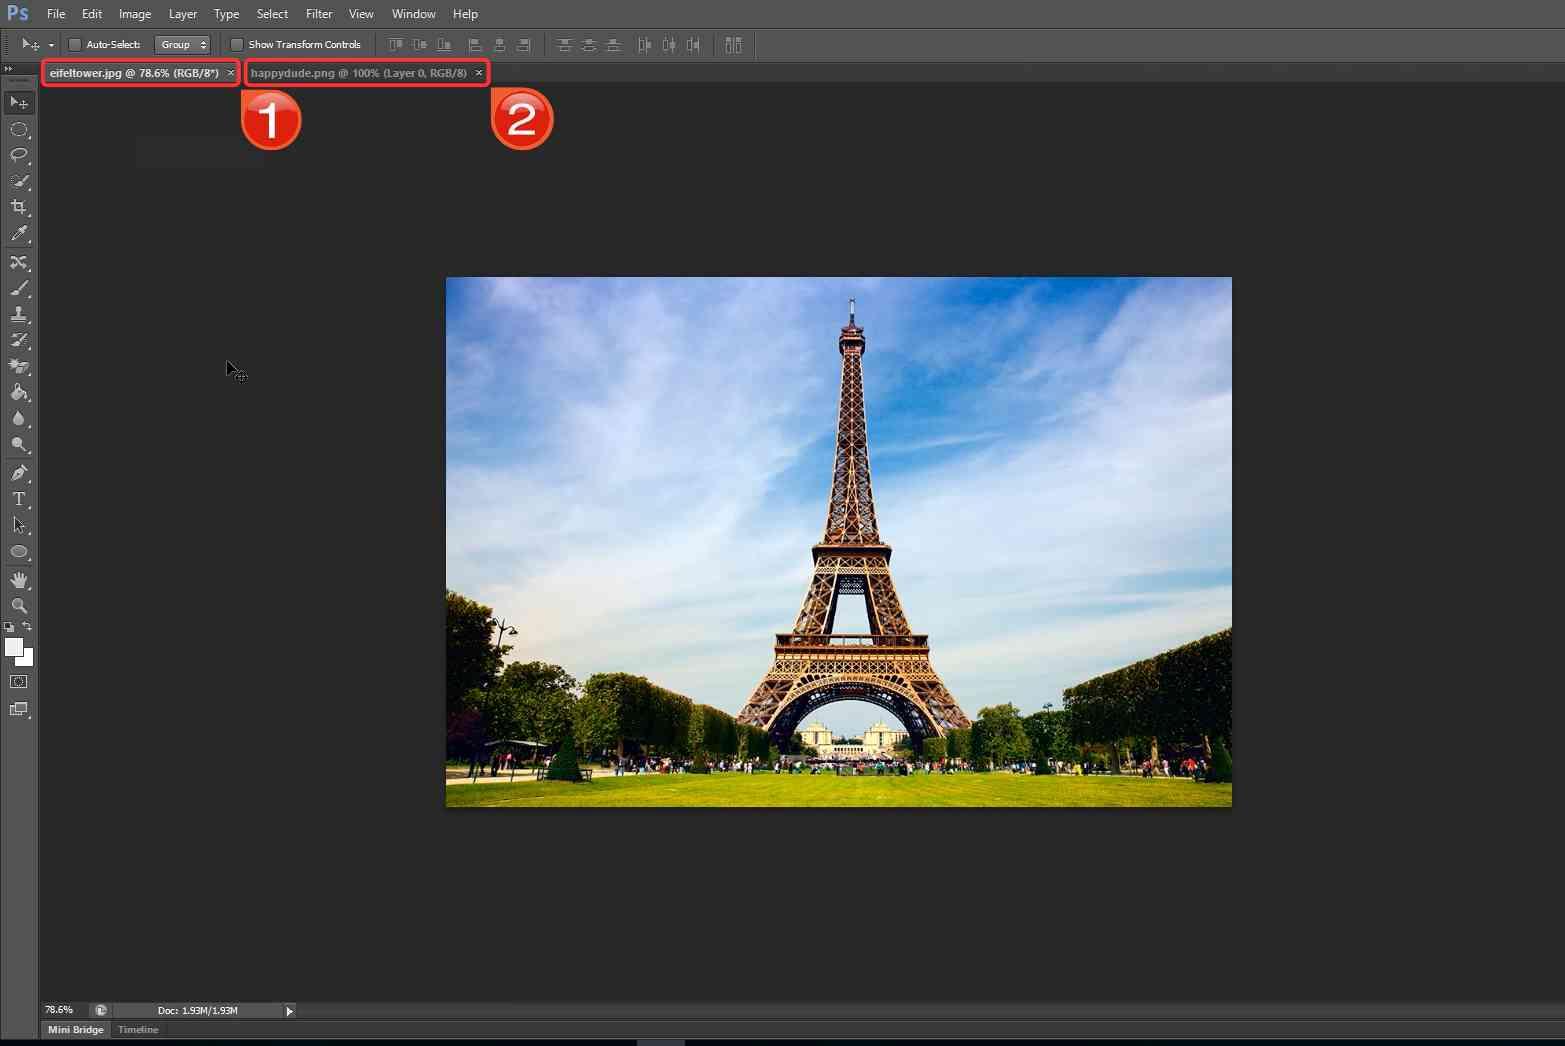
Note: Arrange them so both images are visible next to each other.
Step 3: Select the “Move Tool” from the toolbar on the left. This lets you click and drag the image from one window into the other.
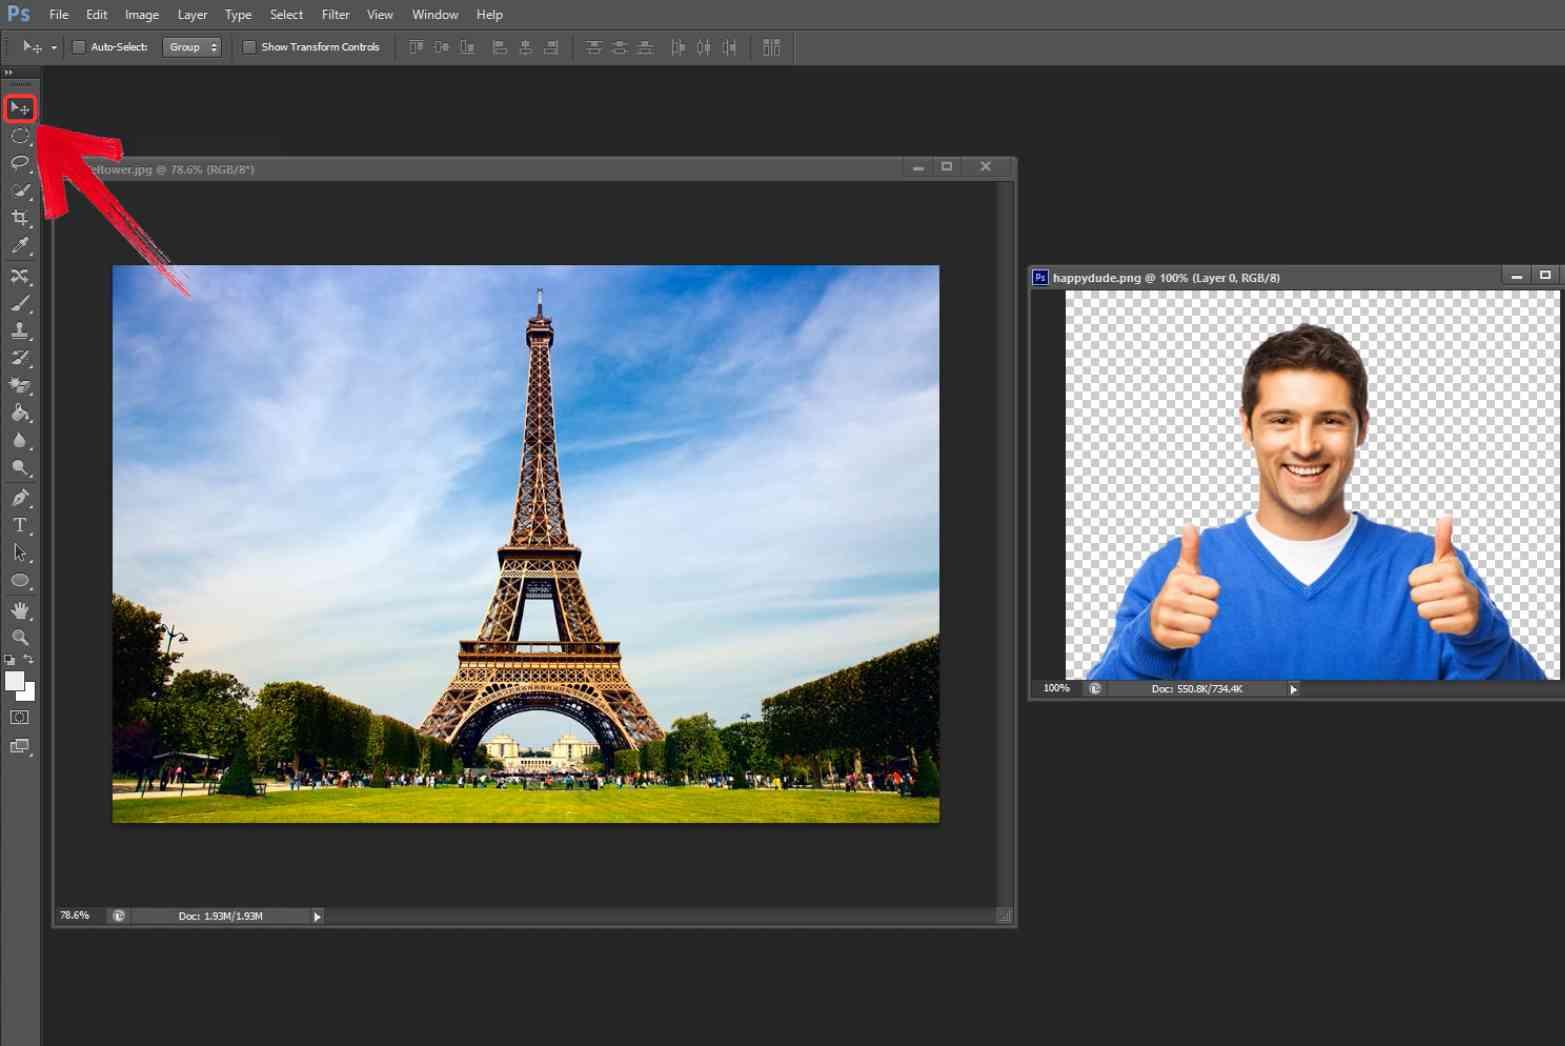
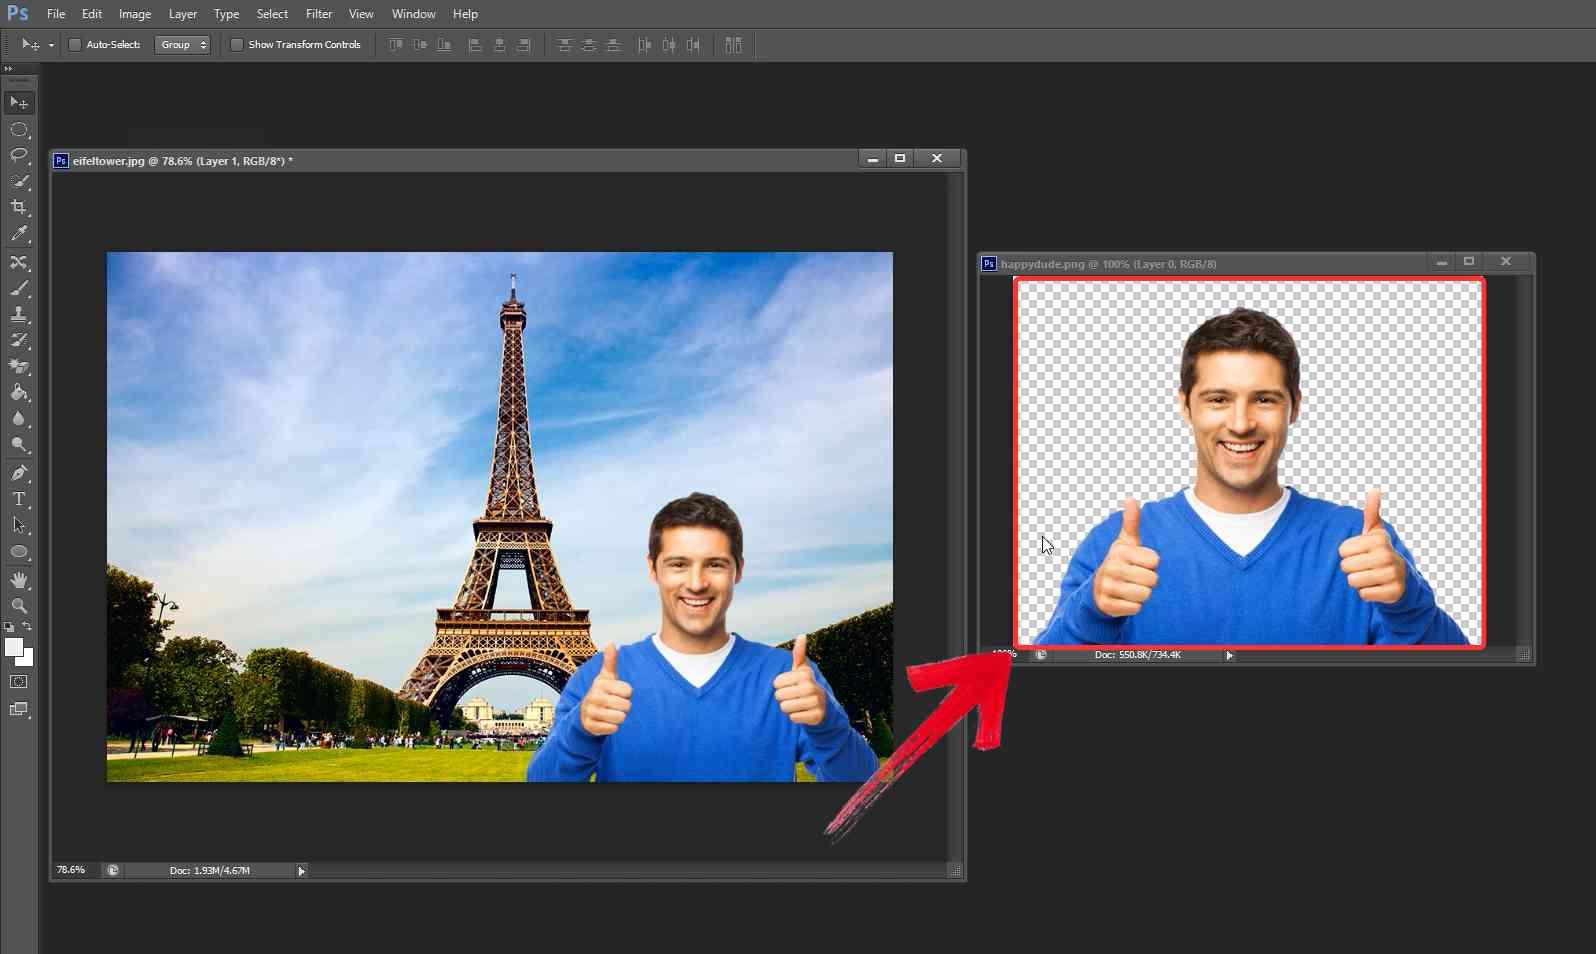
Step 4: Click on the image you want to move, hold down the mouse, and drag it onto the other image’s window which will allow the images to be overlayed.
Comparison: Canva vs. Fotor vs. Photoshop
After trying out all three tools to figure out how to add a pictureto a picture, I noticed pretty quickly that each one has its own vibe. Canva is fast and feels effortless, Fotor hits that middle ground with more control but less complexity, and Photoshop, well, that’s where things get serious. If you’re not sure which one to pick, here’s a side-by-side breakdown to help you figure out which tool fits the way you like to work.
| Feature | Canva | Fotor | Adobe Photoshop |
|---|---|---|---|
| Ease of Use | Very easy, beginner-friendly | Easy to moderate | Advanced, steep learning curve |
| Layering Capability | Simple drag-and-drop layering | Supports layering and collages | Professional-level layering & masking |
| Image Enhancement | Basic filters and adjustments | Basic filters and enhancement | Extensive, advanced editing tools |
| Platform | Web-based, no installation required | Web and mobile apps | Desktop software (Windows/Mac) |
| Cost | Free & Paid plans available | Free & Paid plans available | Paid subscription required |
| Best For | Stylish social media visuals | Casual users, quick edits | Designers needing total creative control |
No matter which tool you go with, combining images is just one part of the process. Sometimes after layering, the final result still needs a little polishing as maybe the edges slightly look off, or the quality dips a bit once everything’s merged. That’s usually when I bring in a separate tool to tidy things up without starting over. It’s the same when you’re editing on a laptop or figuring out how to overlay pictures on iPhone, getting them to look clean often takes a final touch.
Enhance Image Quality with Toolsmart’s Image Enhancer
I was reading a blog on WPS about compressing large image files when I noticed a small mention of Toolsmart’s Image Enhancer in the sidebar. At the time, I had just layered two graphics together for a project and the final image looked slightly off, some blur around the edges and the text wasn’t sitting right on the background. I didn’t want to open Photoshop again just to fix that, so I clicked through. It took a few seconds to upload, and the version it gave me looked cleaner without changing the overall layout. The text looked sharper, the background felt smoother with less noise, and the resolution stayed intact even after enhancement.
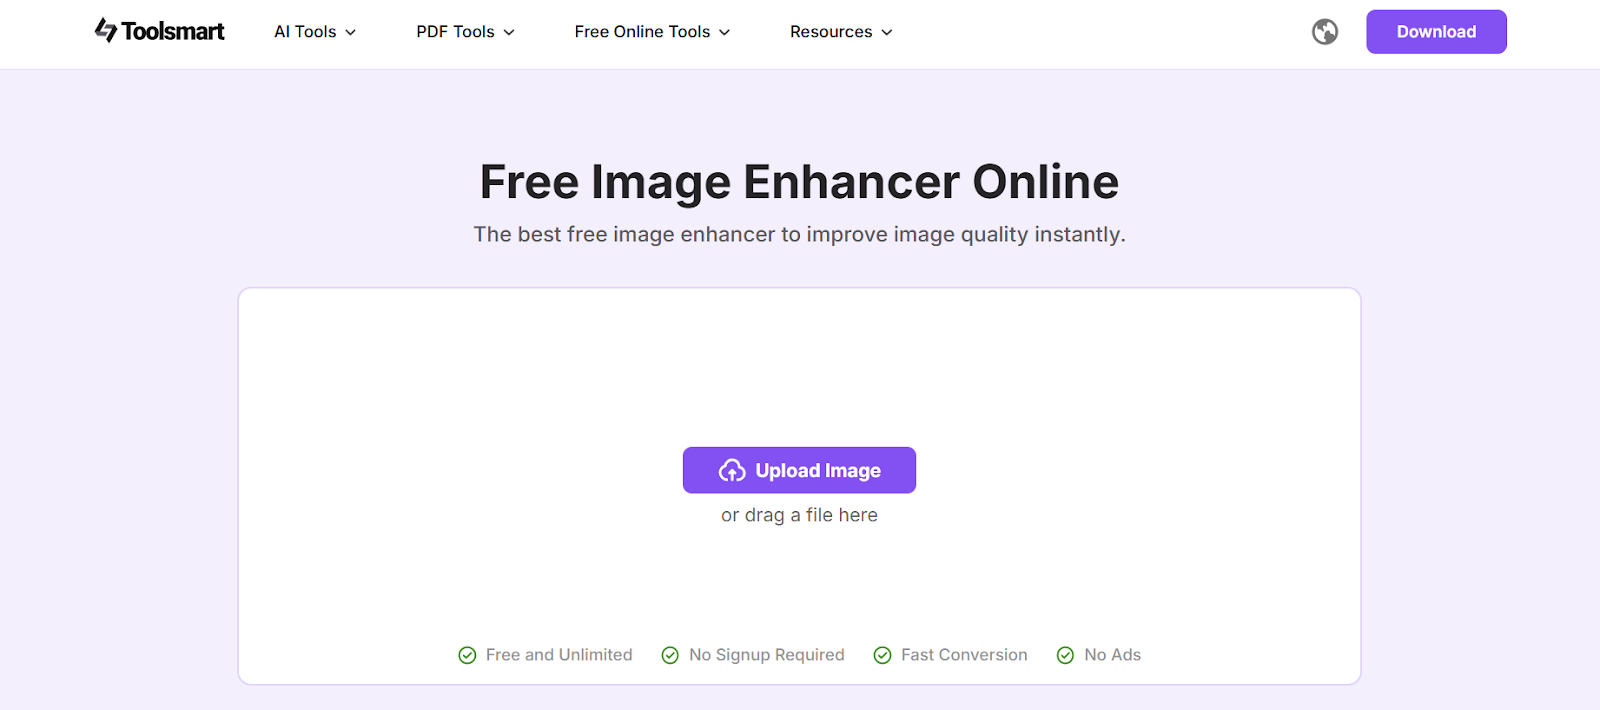
Features:
It requires no editing knowledge, making it ideal for beginners who want fast results.
The tool runs entirely in your browser, so there's no need to download or install anything.
It uses AI to automatically detect and sharpen blurry areas without manual input.
It supports common file formats like JPG and PNG for both upload and download.
All of this made Toolsmart an essential final step after layering my images. It’s ideal when you’re trying to keep things quick, or you’re working on a device where you don’t have access to heavier software like Photoshop. And if you’ve ever finished merging two images and thought the quality looked a bit off, this gives you an easy way to fix that without redoing the whole thing. Here’s exactly how to enhance a layered image using Toolsmart.
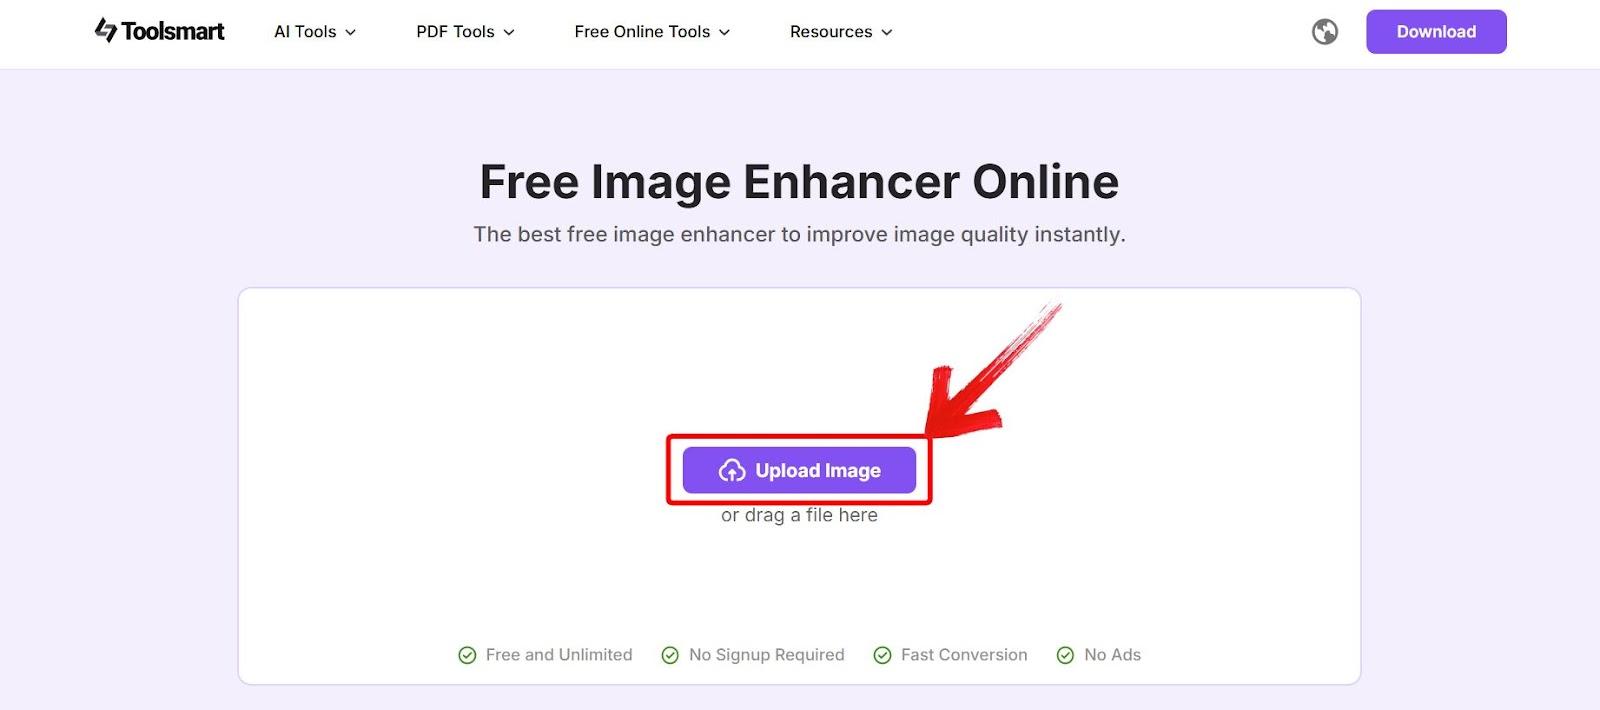
Step 1: Go to Toolsmart’s Image Enhancer website and click on “Upload Image” to select your blurry photo.
Step 2: After the tool takes some time to enhance your image, preview the clearer version and click on“Download” to save it.
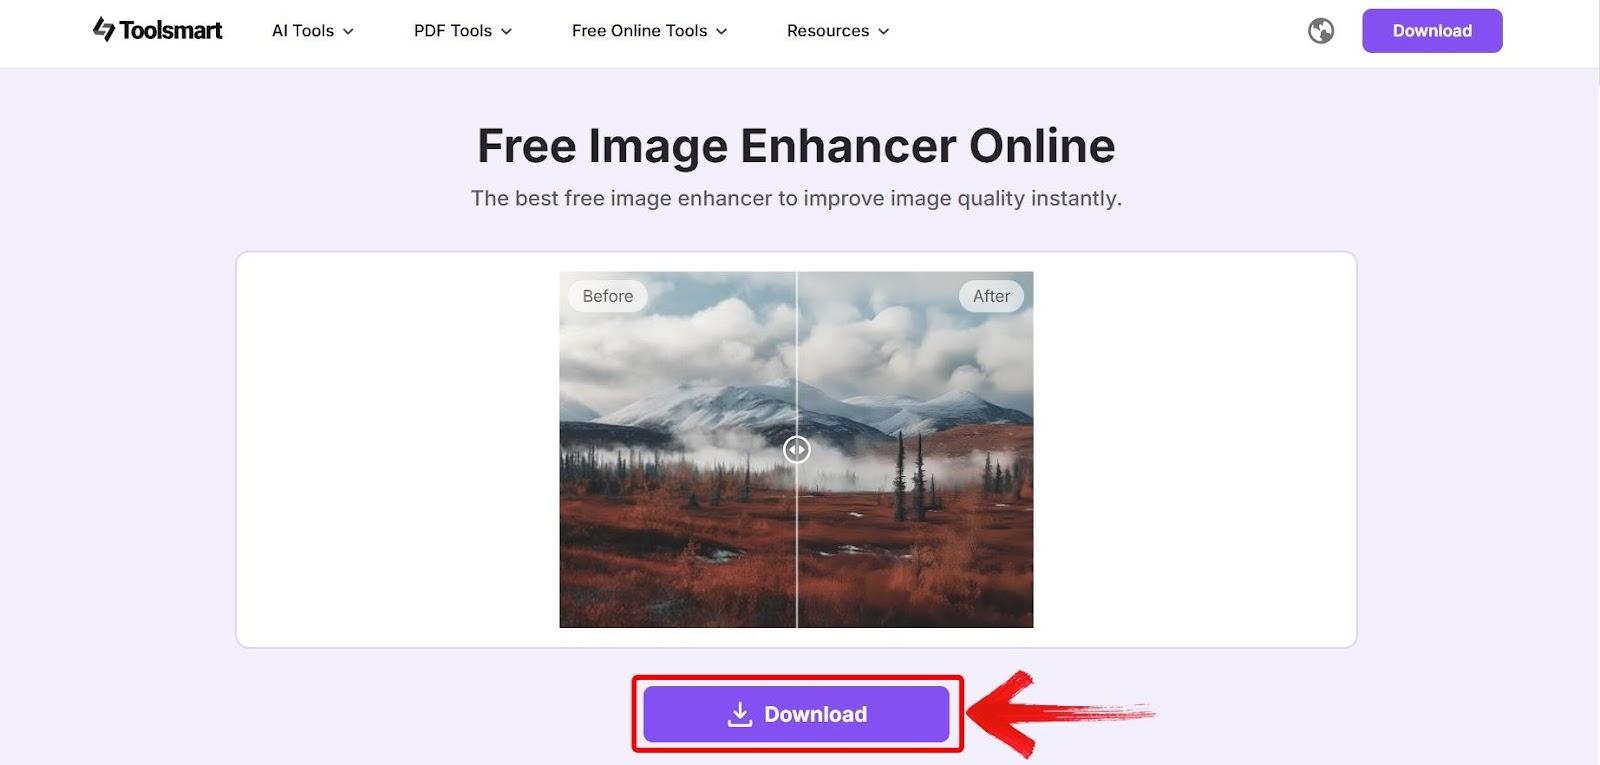
Sometimes after putting two images together, everything looks fine until you zoom in. That’s when the rough edges or weird blurshows up. I’ve had a few of those moments, and running the image through Toolsmart was just a quick way to fix that without starting over.
FAQs
1. What is the easiest way to add one picture to another?
You can use free tools like Canva or Fotor on your phone or computer. They offer intuitive drag-and-drop functions for layering images.
2. Will the image quality decrease after combining two pictures?
It might especially with resizing or exporting. To preserve image clarity, use an enhancer like Toolsmart after editing.
3. How do I resize the second image when layering it on top?
Most apps let you resize using corner handles. In Photoshop, useCtrl+T to activate the transform tool.
4. What file format should I use to save the combined image?
Use JPG for quick web sharing andPNG for better quality or transparency. Always export in high resolution.
5. What image formats does Toolsmart’s Free Image Enhancer support?
It supports PNG, JPG, JPEG, BMP, TIF, TIFF, NEF, DNG, and JPE formats, just upload and enhance.
Toolsmart Keeps it Layered and Leveled
When I learned how to add a picture to a picture, I realized it wasn’t just about dragging one image onto another as it was about finding tools that actually made the process smooth and clean. I tried everything from Canva’s drag-and-drop interface to Fotor’s quick layering tools and even the precision of Photoshop. Each had its strengths, but once the images were combined, I still wanted a polished, high-quality result.
Toolsmart’s Image Enhancer did exactly that. After layering, I ran the image through it to clean up the edges, reduce any small quality dips, and make sure the final version looked sharp without going through another full round of edits. I wasn’t looking to redesign anything, just wanted the end product to hold up wherever I posted it. It was a small step, but it made the whole thing feel more complete.

